0. Overview
The reason I built a portable monitor was not actually portability. I mainly wanted a second display for work. A single monitor can be inconvenient, but a normal 1080p display looks pretty rough on macOS, and buying another 4K monitor felt too expensive. That is what gave me the idea of building a smaller 2K screen myself.
Building a portable monitor mostly comes down to three steps: buy the panel, buy the controller board, and buy or make a suitable enclosure.
This time I built a 15.6-inch 2K portable monitor, and the total cost was about 700 RMB.

1. The Panel
The first step is to search for a suitable panel on Panelook (www.panelook.cn). The two main things to focus on are size and resolution.
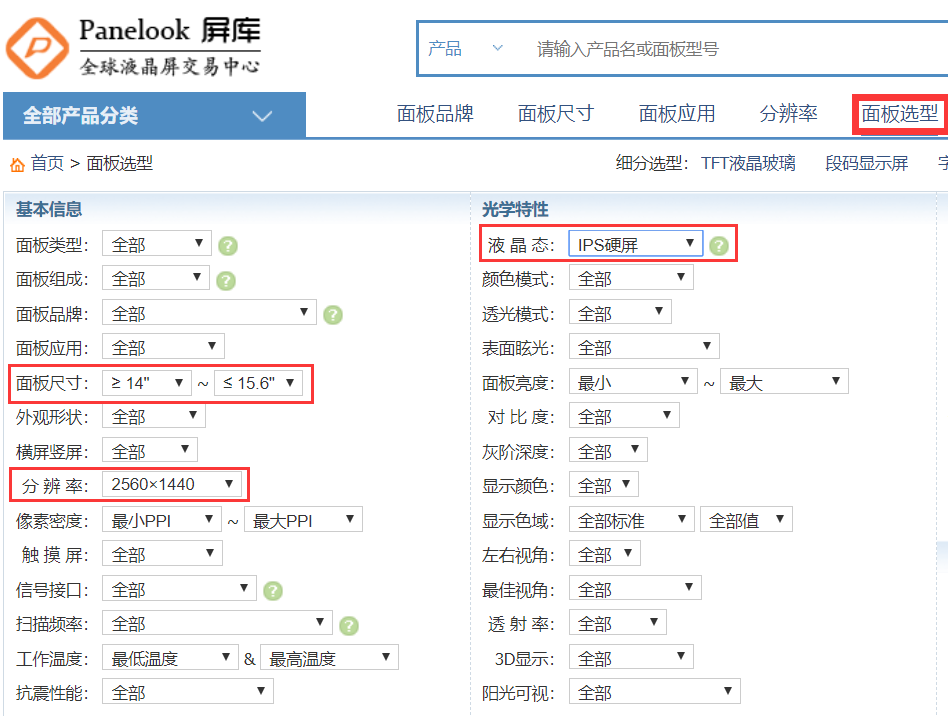
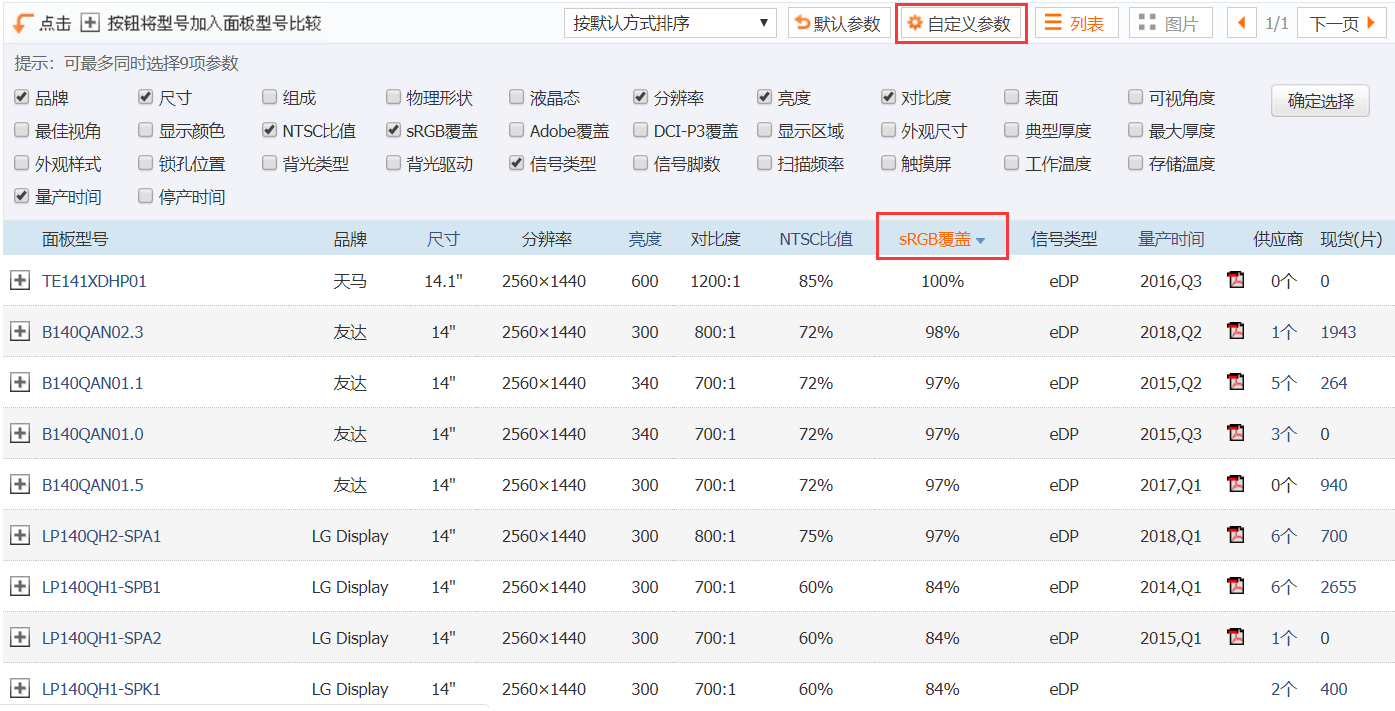
After narrowing down the model list, do a second round of filtering. Pay attention to the connector type: eDP panels come in both 30-pin and 40-pin versions, and the controller board has to match it.
As for how to choose a truly good panel in terms of display quality, you may need to do a bit more homework elsewhere.
[post url=“http://zhihu.com/question/63374877/answer/762539660” title=“How can you tell whether a laptop display is actually good?” intro=“Zhihu - xyPROBLEM9x” cover=“https://pic3.zhimg.com/v2-f0b1c72c4f38fea4246768cc3f3c233f_xll.jpg” /]
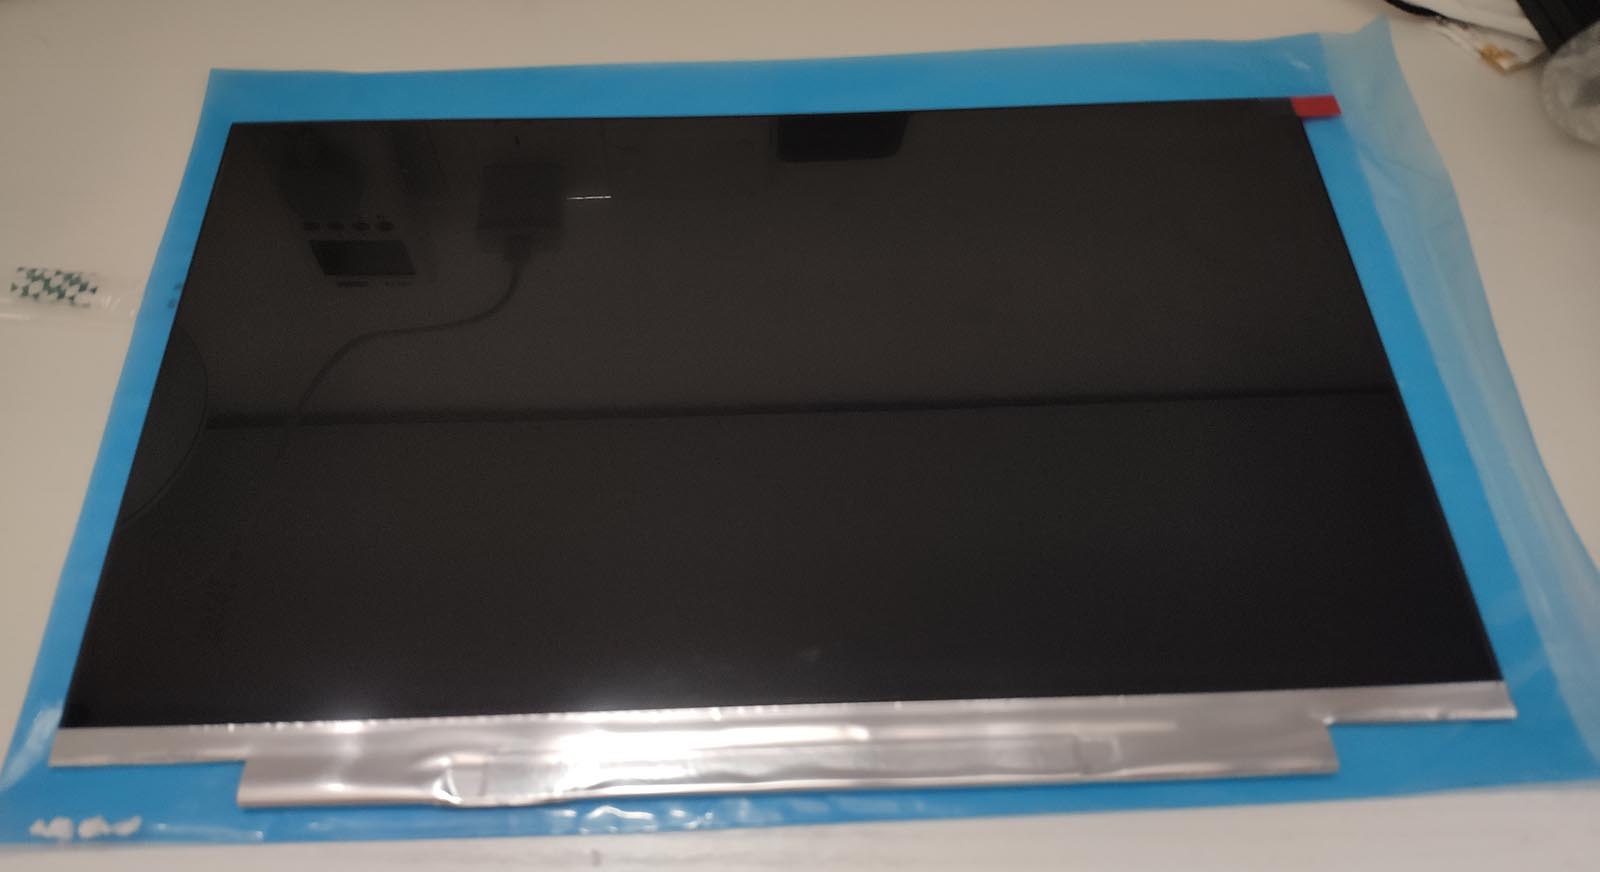
The panel model I picked was LP140QH2-SPB1.
Once you have the model number, just search for it on Taobao and buy it there. Be sure to ask the seller first, because some listings do not include the exact model number in the title. Do not buy the wrong one by accident.
If the seller can bundle a matching controller board together with the panel, that is even better.

2. The Controller Board
Controller boards are all fairly similar. The thinner ones usually use either mini HDMI or USB-C. For USB-C boards, video and power are often separate unless it is an all-in-one design.
At first I bought a USB-C board, but after using it for two days I noticed the screen would occasionally shake slightly up and down. It was subtle, but still annoying, so I returned it.
After repeatedly confirming that the replacement supported 2K output, I bought a mini HDMI board instead. It was even a bit cheaper.
When buying, make sure to ask the seller whether the cable included with the controller board matches the panel connector.
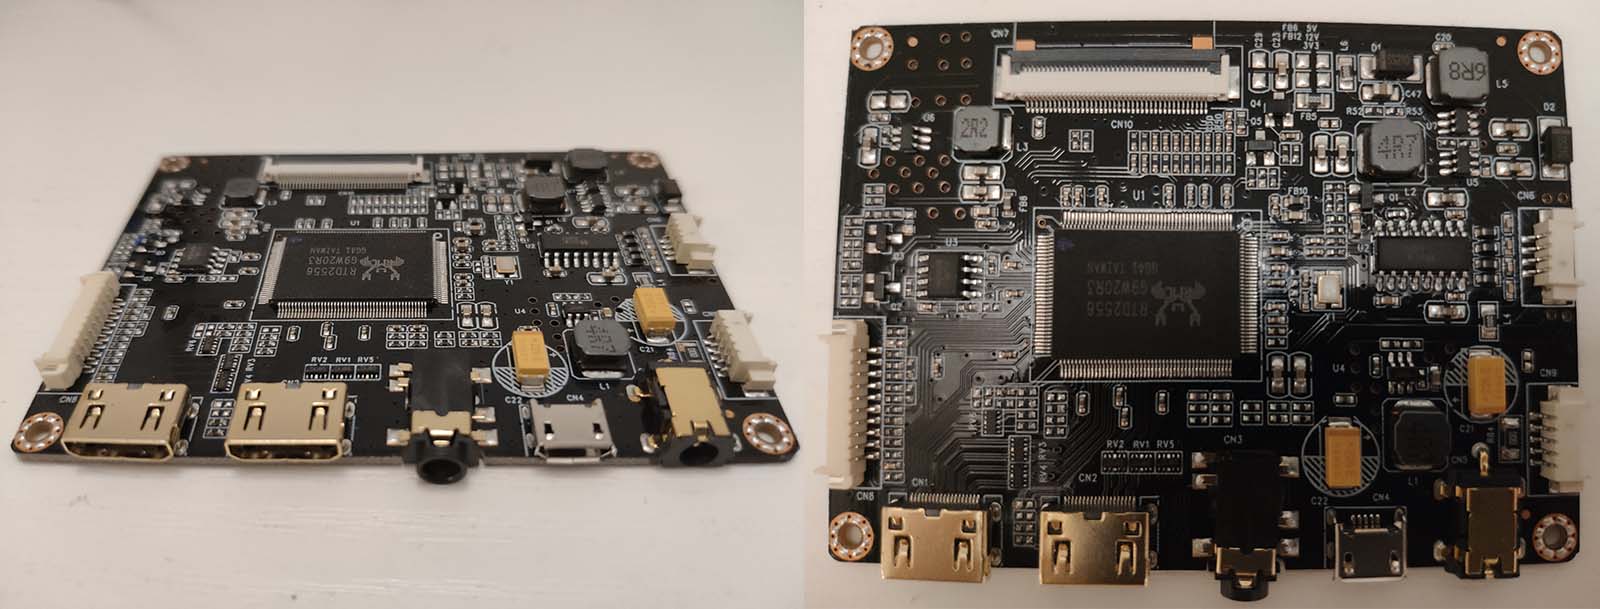
Connect the controller board to the panel, and at that point you can test whether the screen works correctly.

3. The Enclosure
1. Custom Enclosure
You can go to Taobao and buy one of those all-in-one kits that includes both the controller board and a metal enclosure.
Honestly, this is the option I recommend most. It is easier, sturdier, and much more practical.
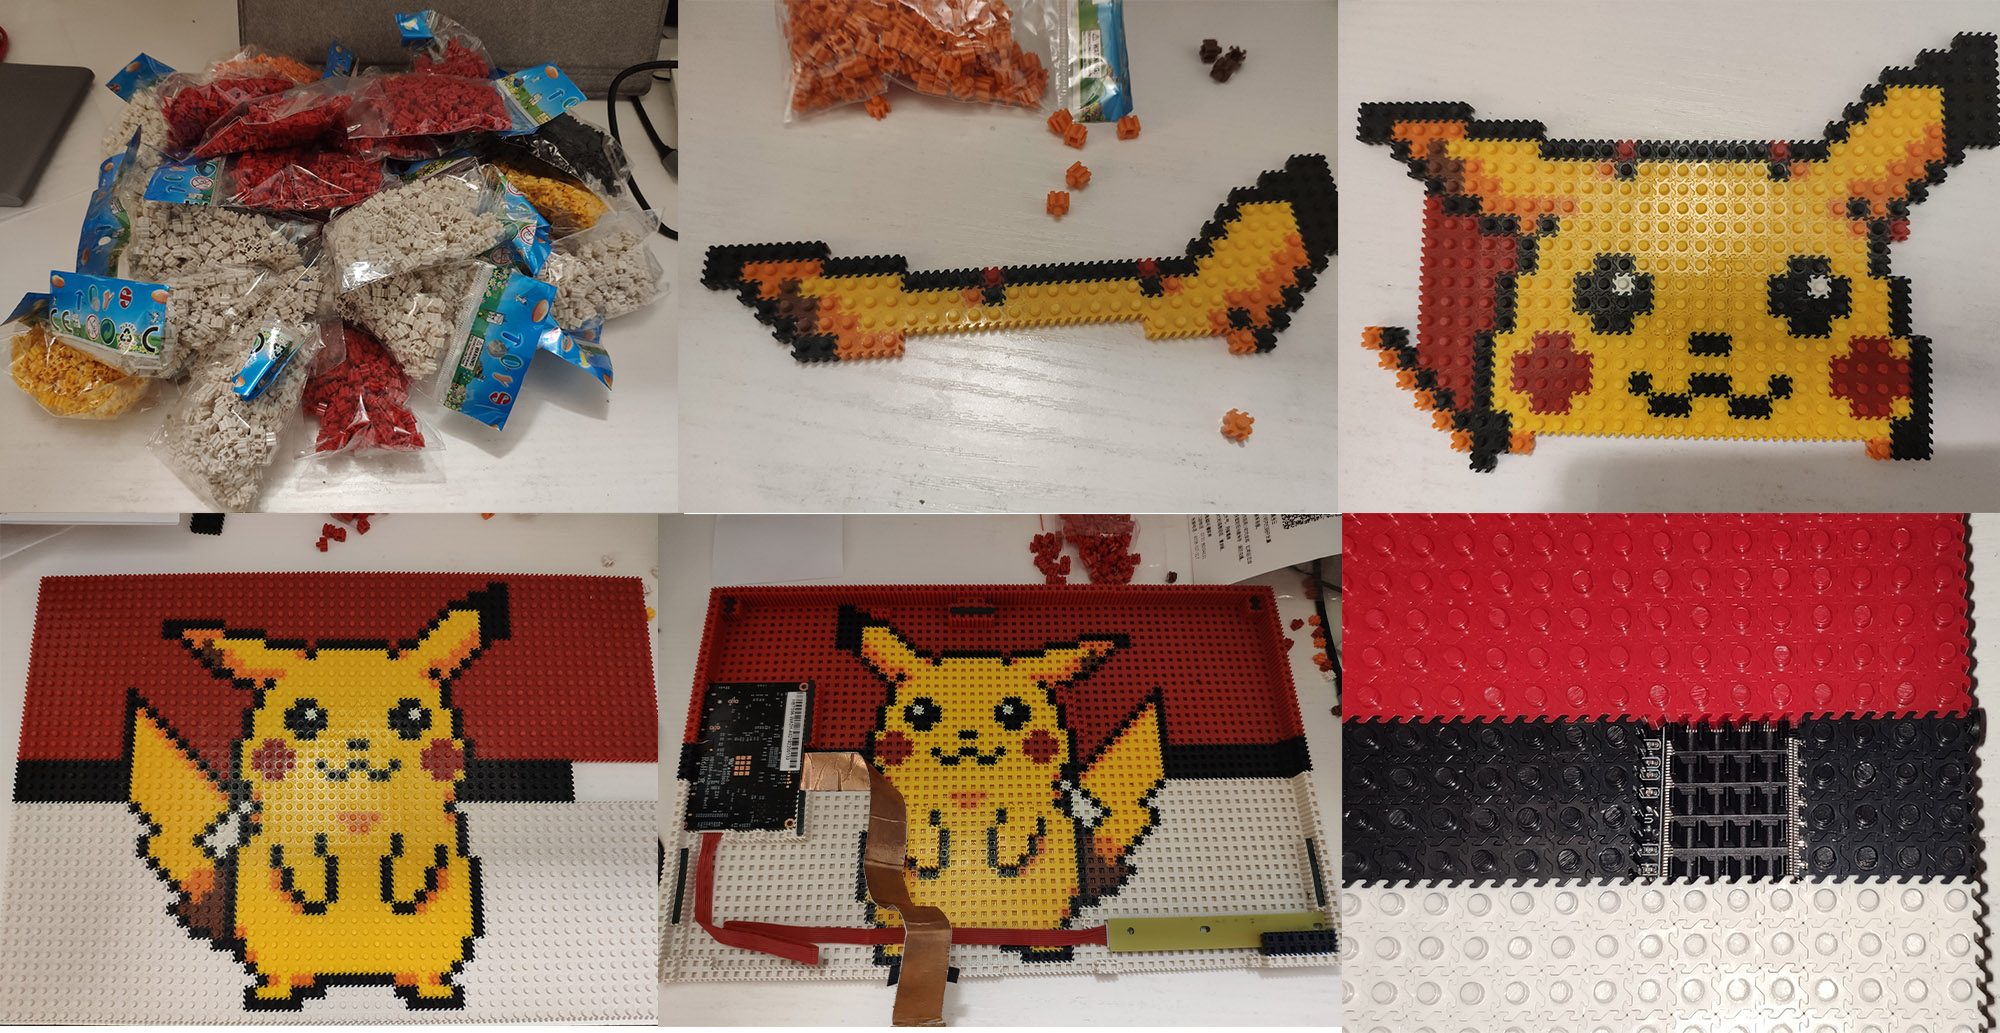
2. Building One with Bricks
Making the enclosure out of small building blocks is mostly just for fun. It is not especially practical, because it bends too easily in a bag.
If you search Taobao for micro building blocks (微积木), you will find a lot of products of this type. They are commonly used for display enclosures and keyboards. Sellers usually provide outline drawings too, and you can also generate pixel-art plans yourself online.