1. Introduction
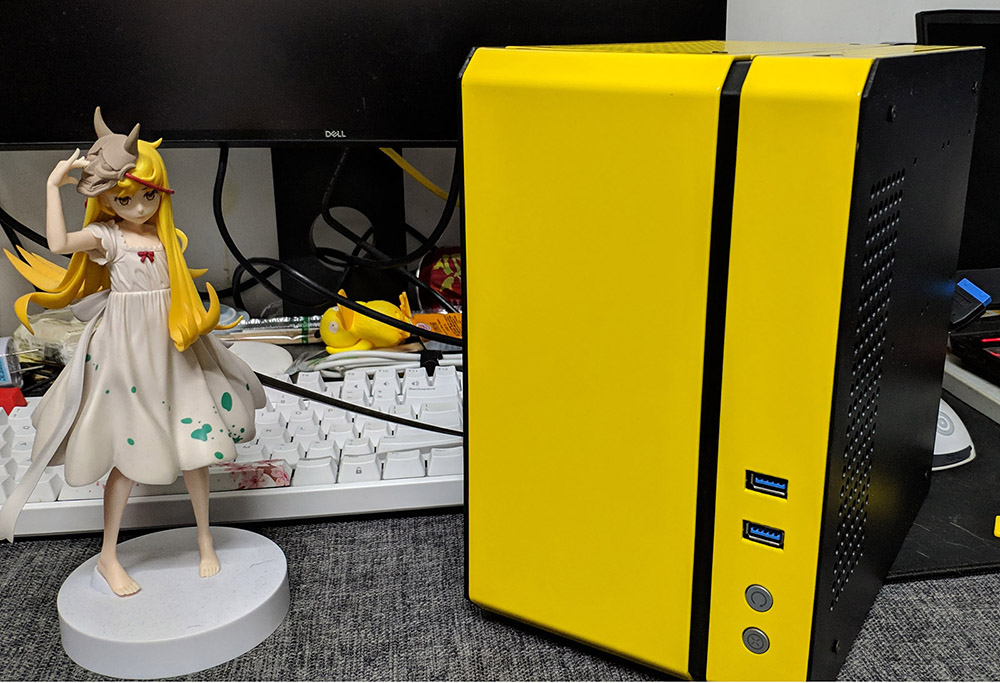
First, here is what the case looks like:
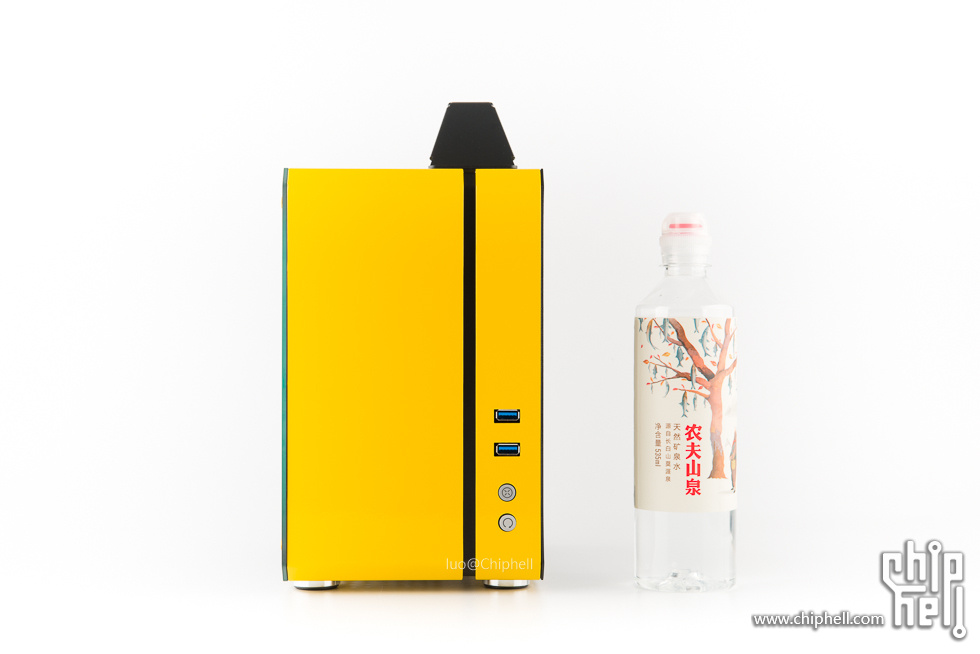
And here are two official promo images:
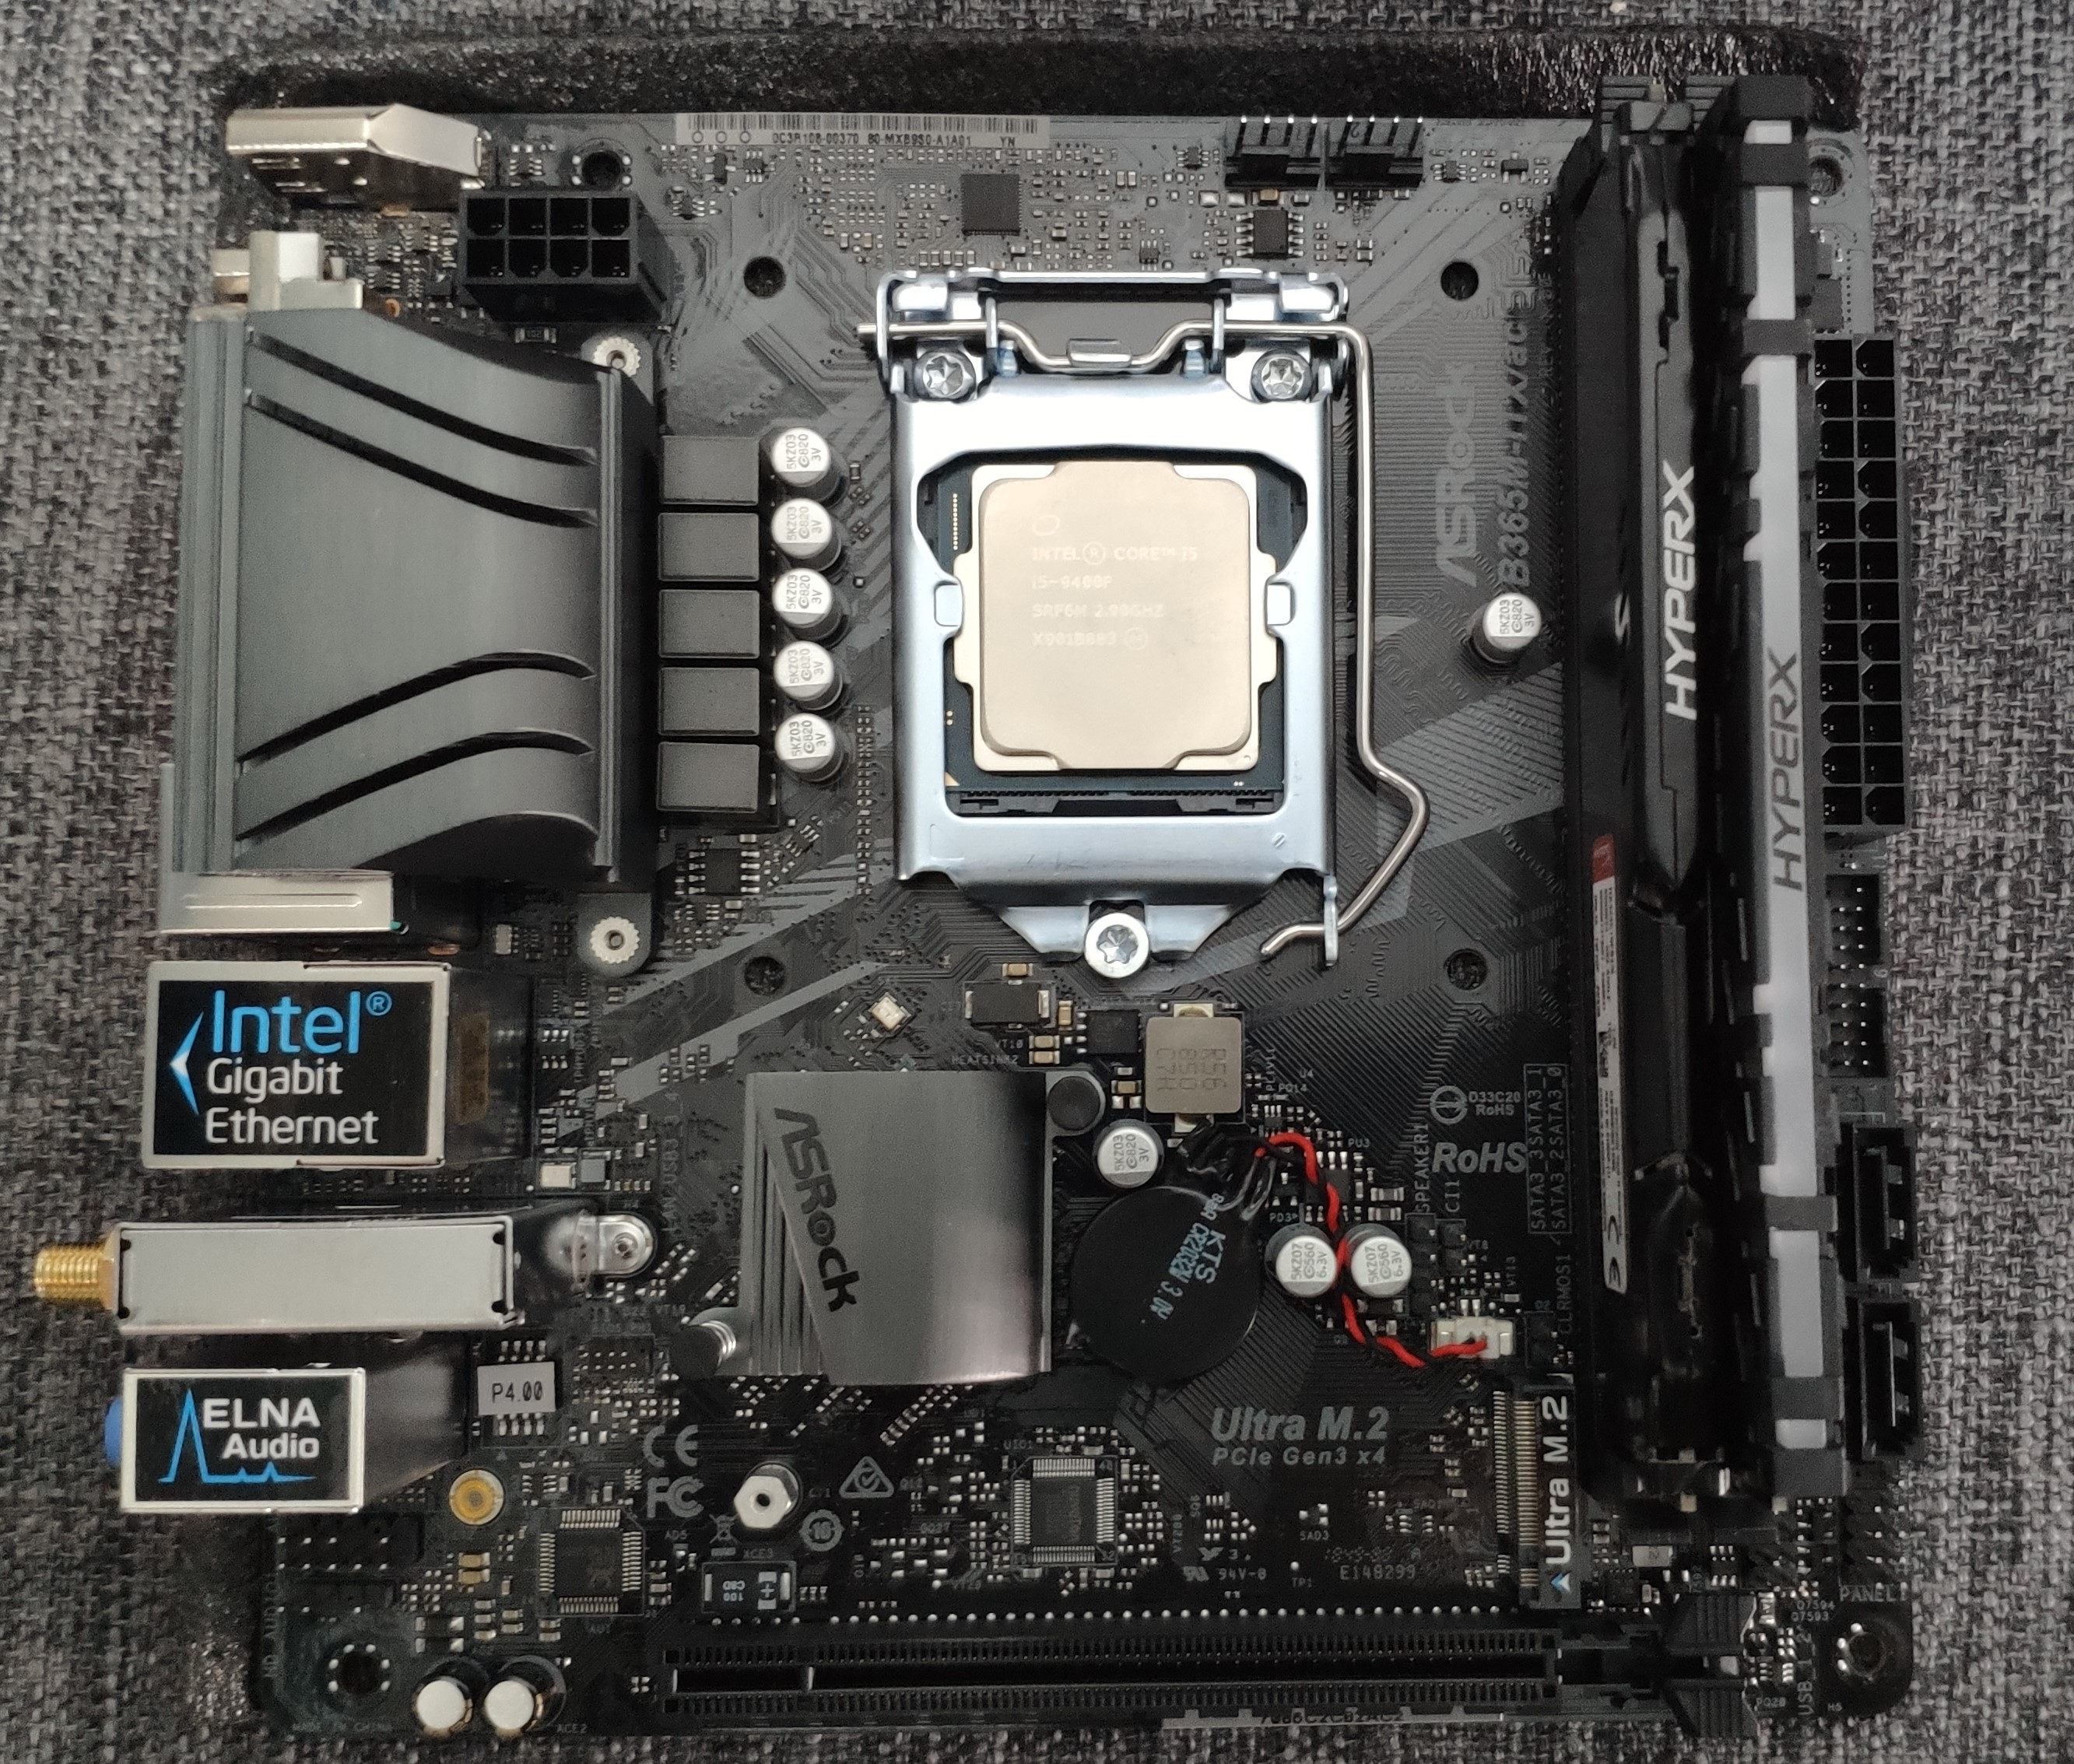
The hardware for this build was:
| Part | Model | Price | Source (2019) |
|---|---|---|---|
| CPU | i5 9400F tray CPU | 947 | Taobao 6-1 |
| Motherboard | ASRock B365M ITX/AC | 623 | Taobao 6-1 |
| Cooler | ID-COOLING IS-50 | 99 | JD 6-1 |
| Memory | Kingston DDR4 3000 16 GB RGB Kingston DDR4 2400 8 GB FURY |
479 0 |
JD 6-1 flash sale pulled from an older PC |
| SSD | Samsung PM981 M.2 NVMe 512 GB | 450 | Taobao 6-1 |
| GPU | Gainward GTX1660Ti Chasing Wind 6 GB | 1949 | JD 3-12 |
| PSU | FSP MS450 (SFX 450 W) | 371 | JD 6-1 flash sale |
| Custom cables | Yellow silicone cables | 90 | 7-30 |
| Case | C24 Cube | 470 | Xianyu |
| Fans | ARCTIC 8 cm dual-ball temperature-controlled fans (daisy-chainable) *4 ARCTIC 9 cm dual-ball temperature-controlled fan (daisy-chainable) |
45.9*4 45.9 |
JD 6-1 |
| 5,743.4 |
2. The Build
0. The Case
First, take the case completely apart and set the panels aside.
1. CPU and Memory
Open the CPU latch, place the CPU in the socket, and close it.
When installing the memory, make sure to push firmly. If the sticks are not fully seated, the machine will not boot.
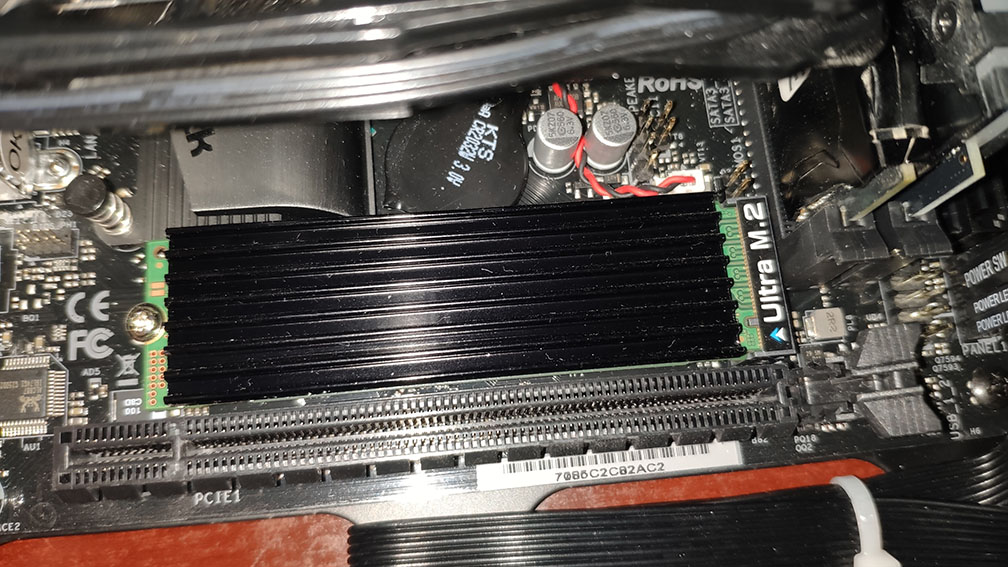
2. SSD
For the M.2 SSD, just insert it into the slot and secure it with the screw.
3. CPU Cooler
Apply thermal paste, but do not use too much. Then install the cooler.
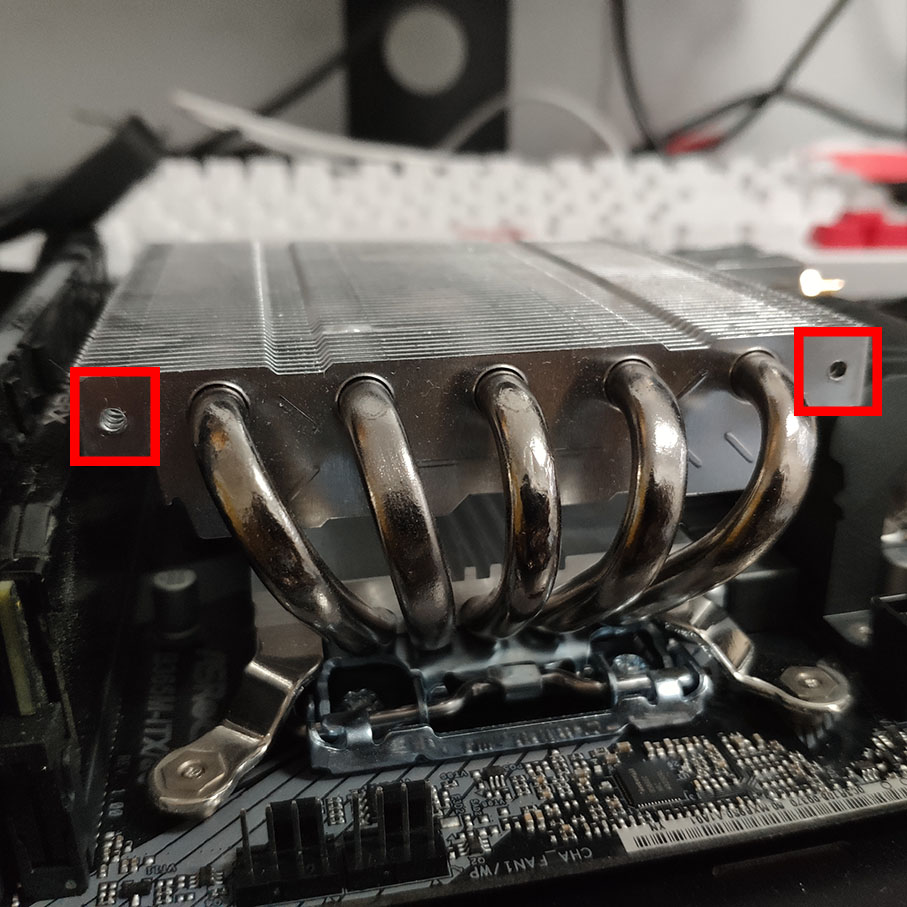
1. Reverse the Fan Direction
Note: after changing the fan direction, you will not be able to install the rear fan. If you need that fan, consider buying a different cooler instead.
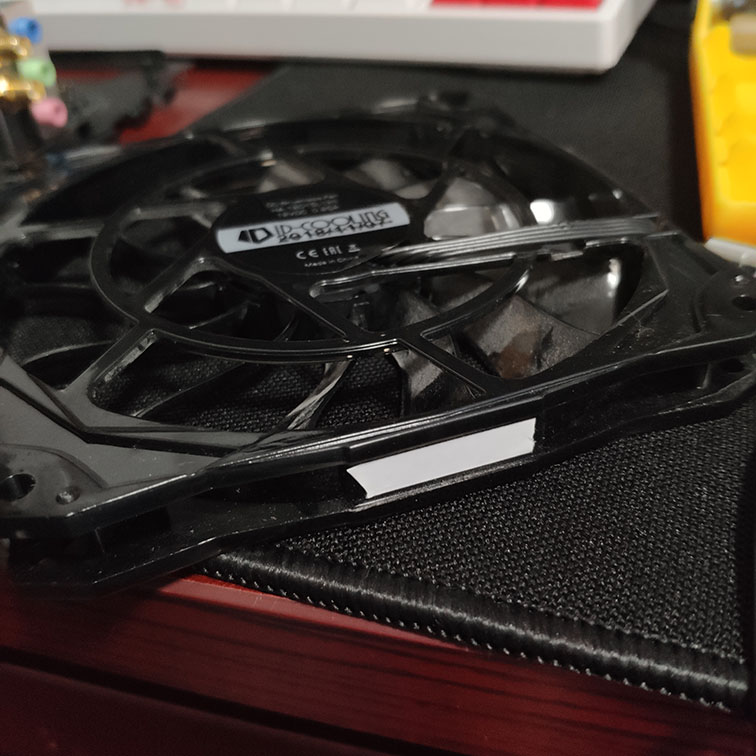
My cooler is an IS-50. In the previous build it blocked the memory sticks, but when I disassembled the machine this time I realized the fan could be removed and remounted in a different orientation. Remove the four screws on the side, then reposition the fan so it no longer covers the RAM.
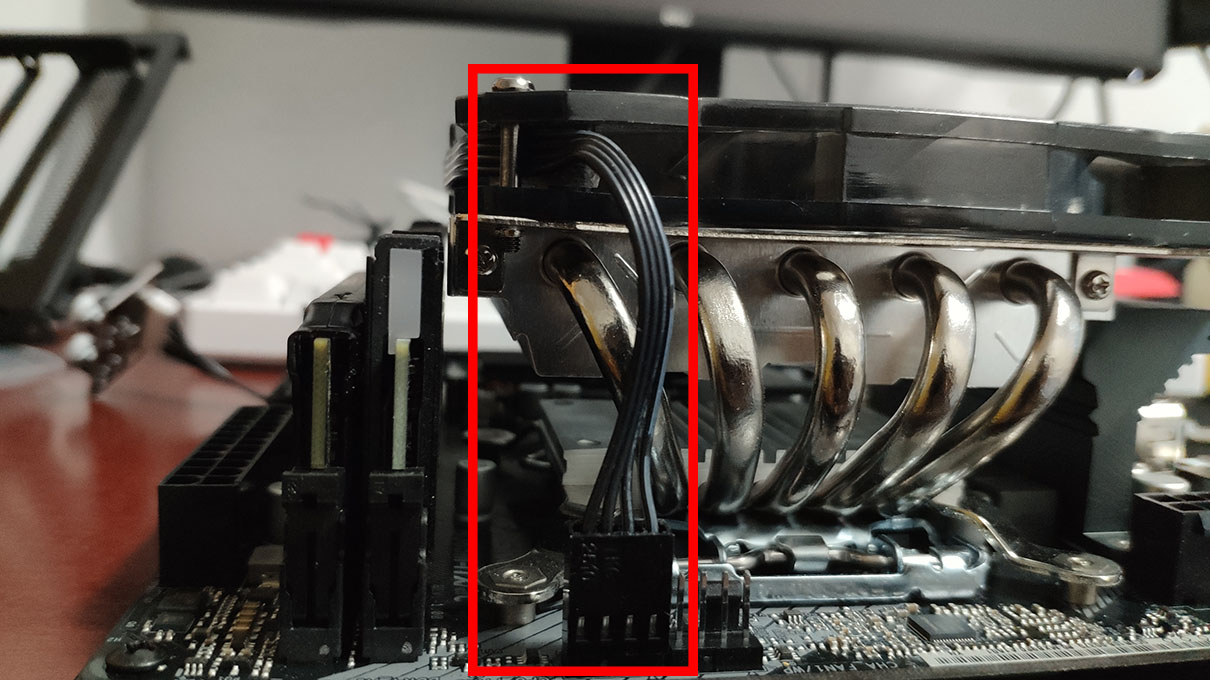
2. Tidy the Cooler Cable
Stick double-sided tape to the outside of the fan, wrap the extra cable around it, leave only a short tail, then secure the cable to the cooler and plug it into the CPU_FAN header.
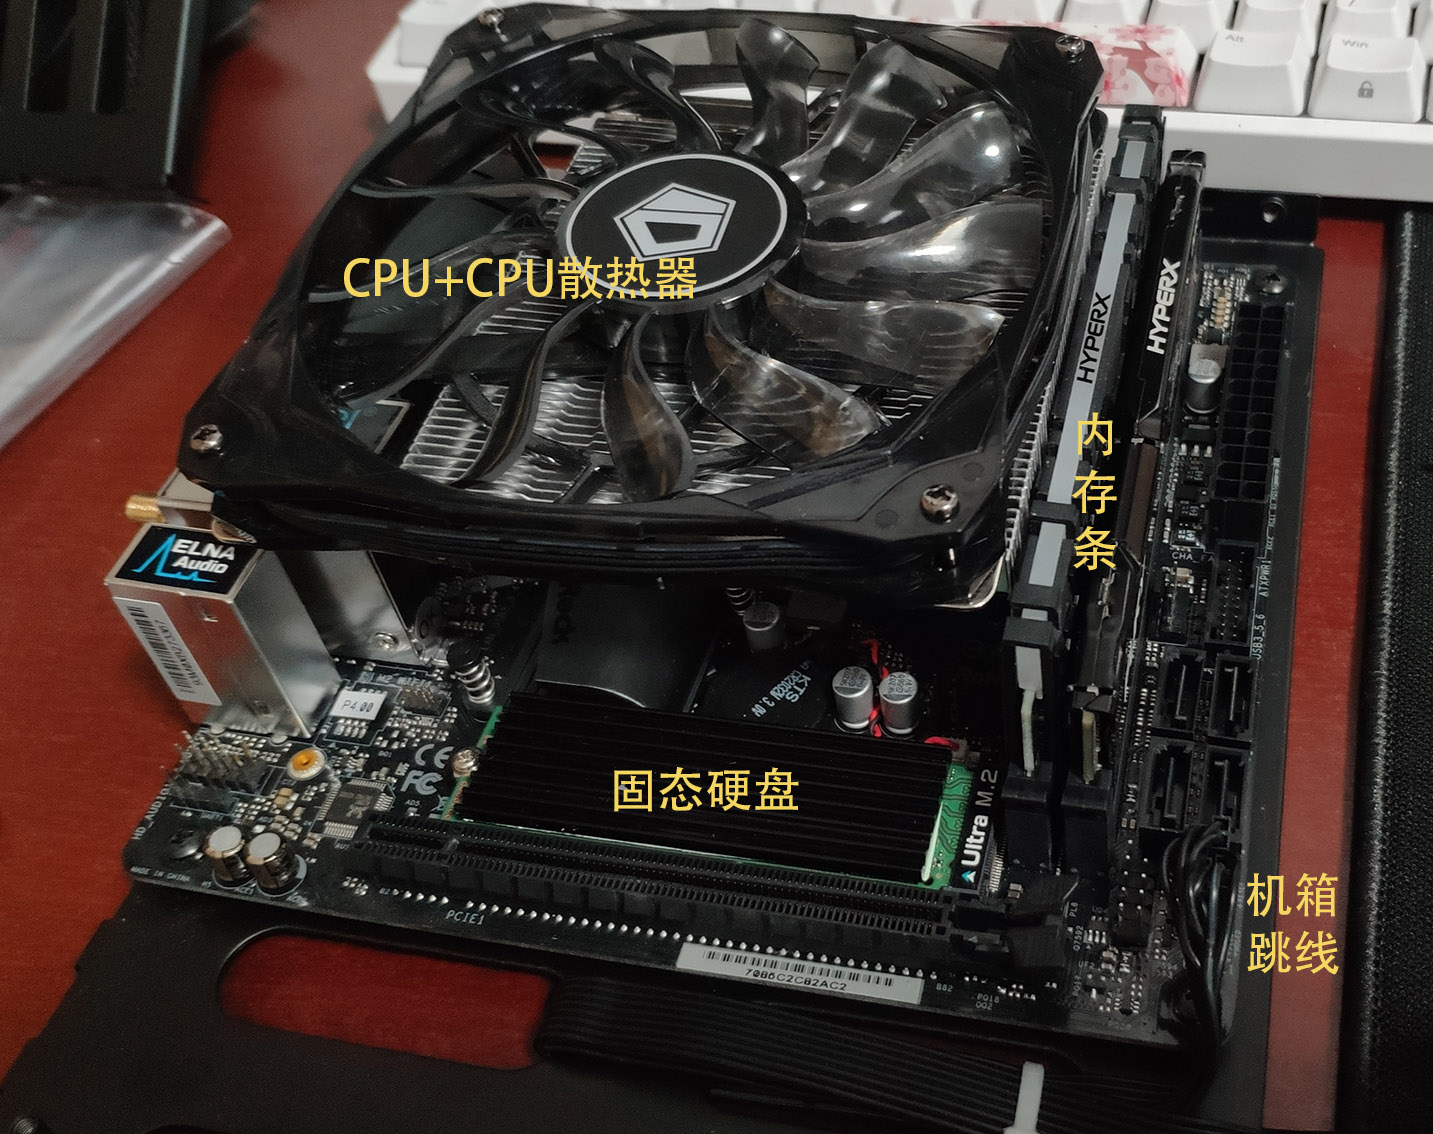
4. Motherboard
At this point the only things left on the motherboard side are the GPU and the rest of the cabling, so install the motherboard onto the rear tray and leave the remaining work for later.
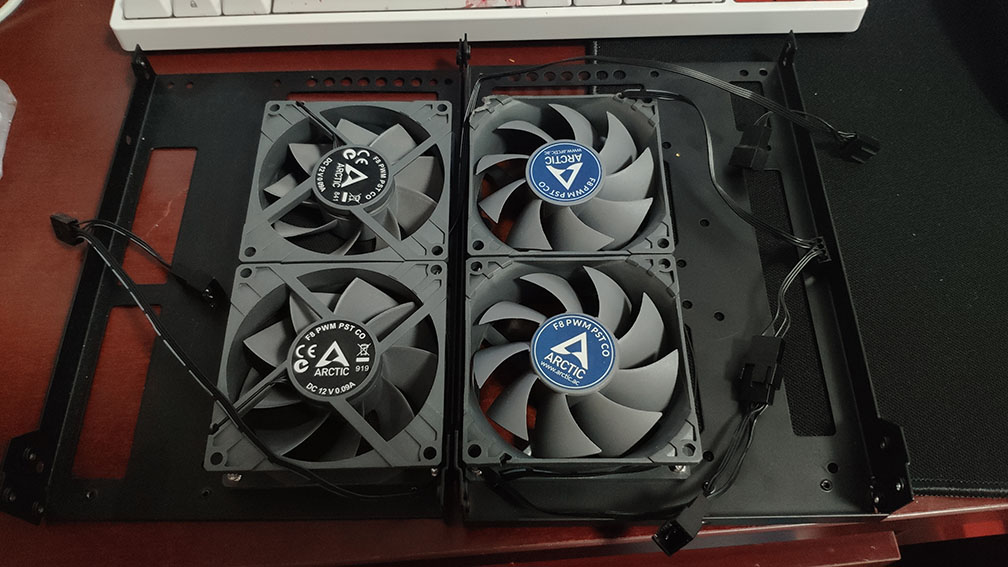
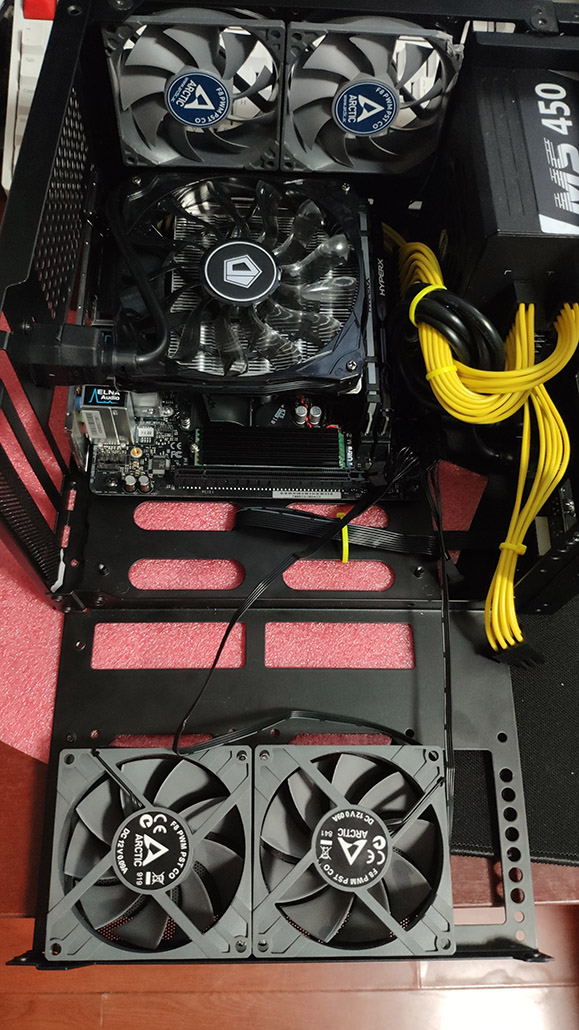
5. Case Fans
The airflow setup I used was bottom intake plus rear and top exhaust. You can also experiment with rear intake if you want. Just make sure you keep track of which panel goes on top and which one goes on the bottom.
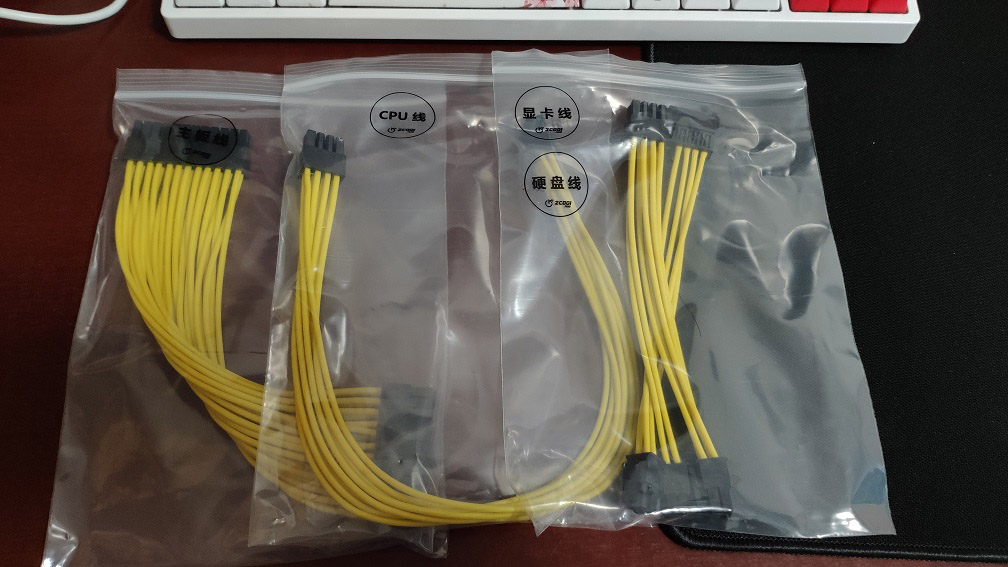
6. Custom Cables

To match the case, I ended up going with a full set of yellow cables.
7. Rear Panel and Top Panel
Install the rear and top panels first, then plug in the CPU power cable and the 24-pin motherboard cable to sketch out the general cable-routing path.
At the same time, tidy up the top-fan cable and connect it to the motherboard. Also adjust the PSU extension cable.
Note: at this stage it is best to use only a few screws and keep things loosely mounted.
8. PSU and Front Panel
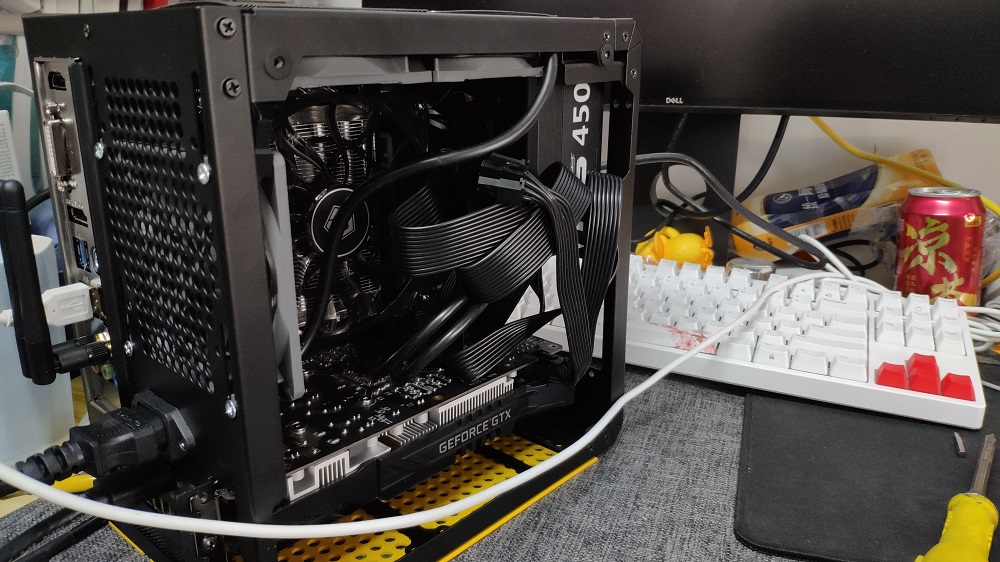
Mounting the power supply was a bit awkward, because that thick extension cable never wanted to sit nicely. After some rearranging, it ended up like this, and the front panel was installed too.

Connect the front USB 3.0 cable to the motherboard, then connect the CPU power cable and motherboard cable to the PSU. Pay attention to cable cleanliness here.
9. Bottom Panel
Now connect the fans on the bottom panel to the motherboard, but do not fully secure the bottom panel yet. Keep cable routing in mind.
You can also connect the GPU power cable to the PSU at this point.
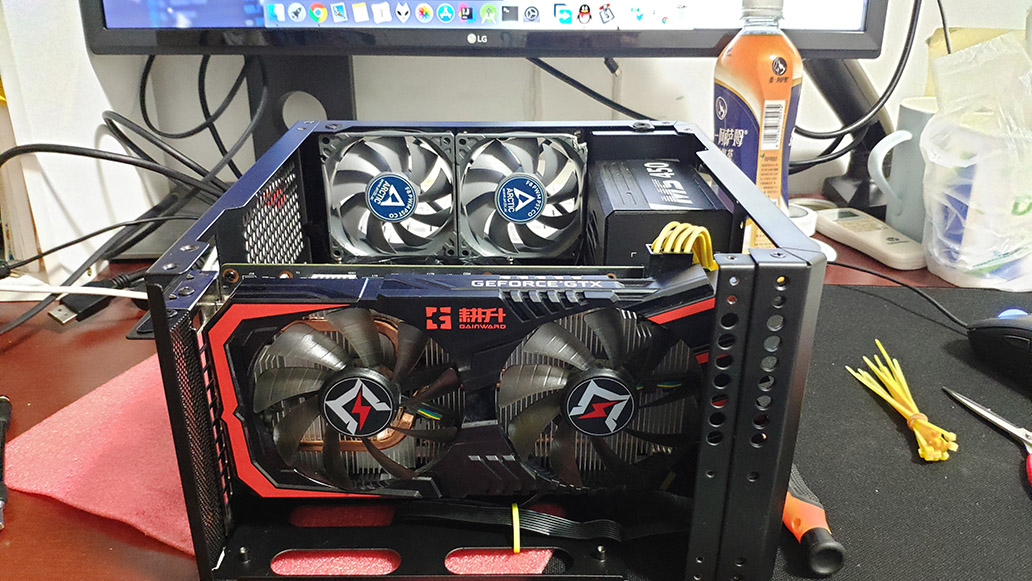
10. Graphics Card
Open up the rear panel a little so there is enough room to insert the GPU. Once it is seated, secure it to the rear panel and connect the power cable.
11. Bottom Panel Again
At this point, simply close up the bottom panel, making sure the case-fan cables do not touch the GPU fans.
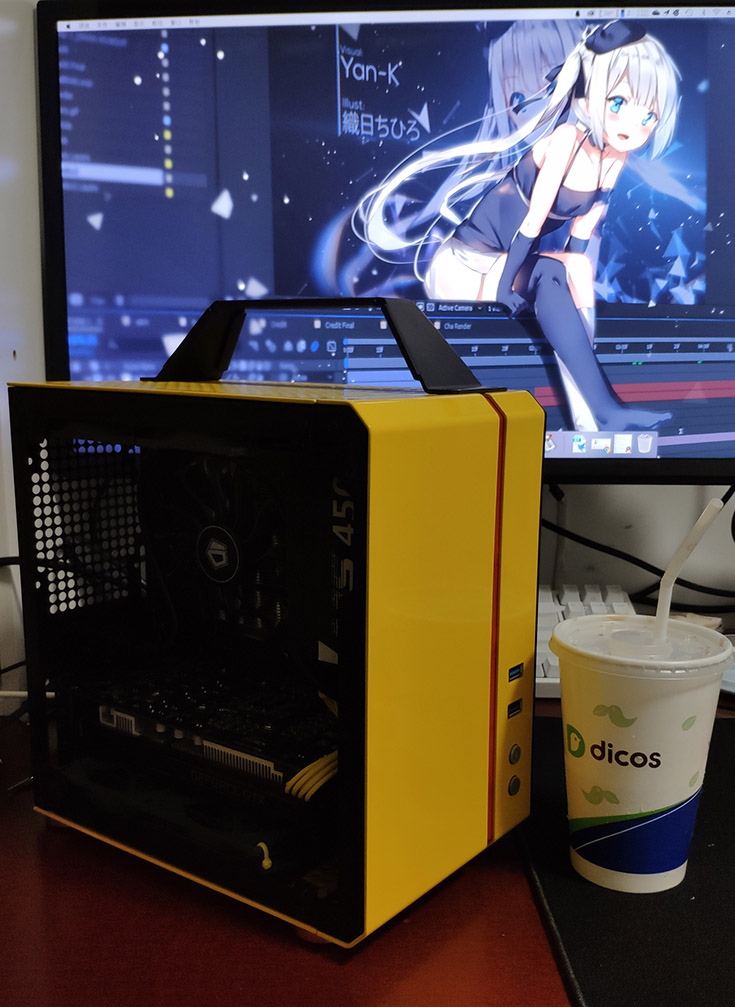
3. Finished Build
1. Summary
This teardown-and-rebuild was quite rewarding. The cables are much clearer now, and the whole system went back together much faster than before.
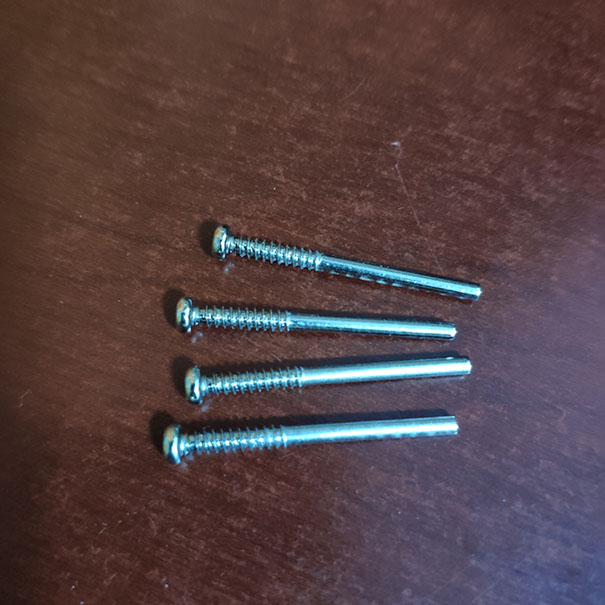
Most importantly, after finishing the rebuild I somehow ended up with three extra screws.

Here are some final photos:
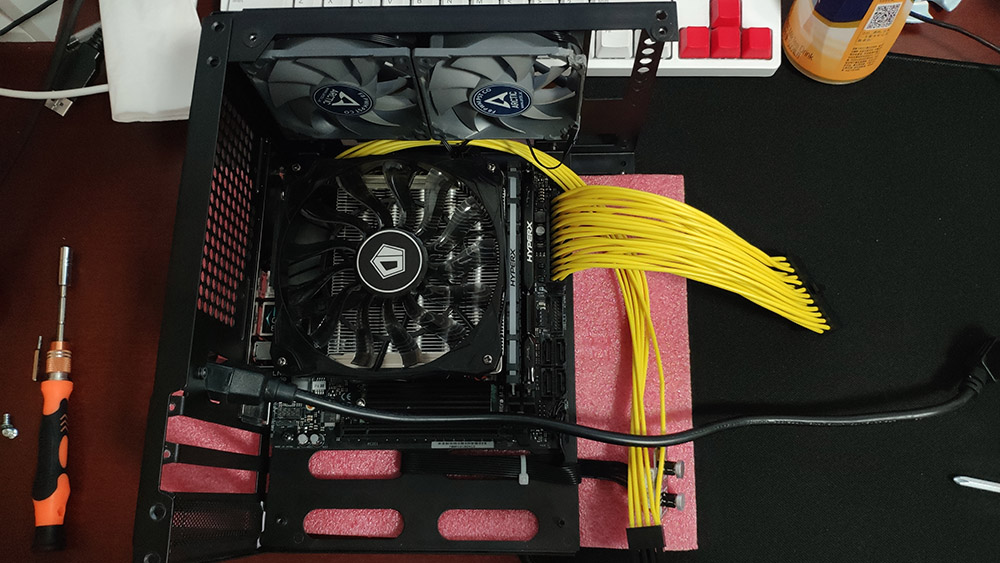
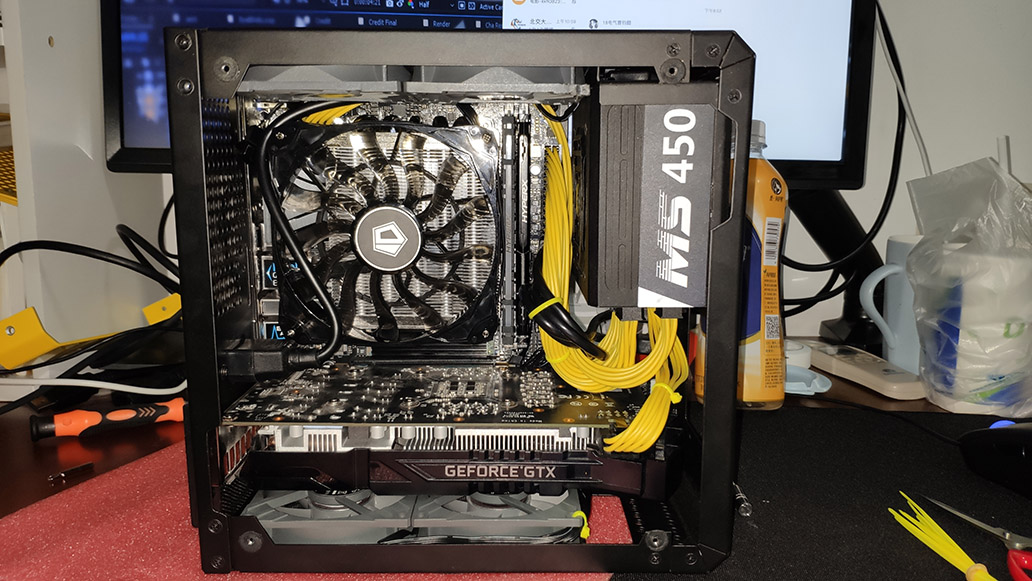
Before changing the cables:
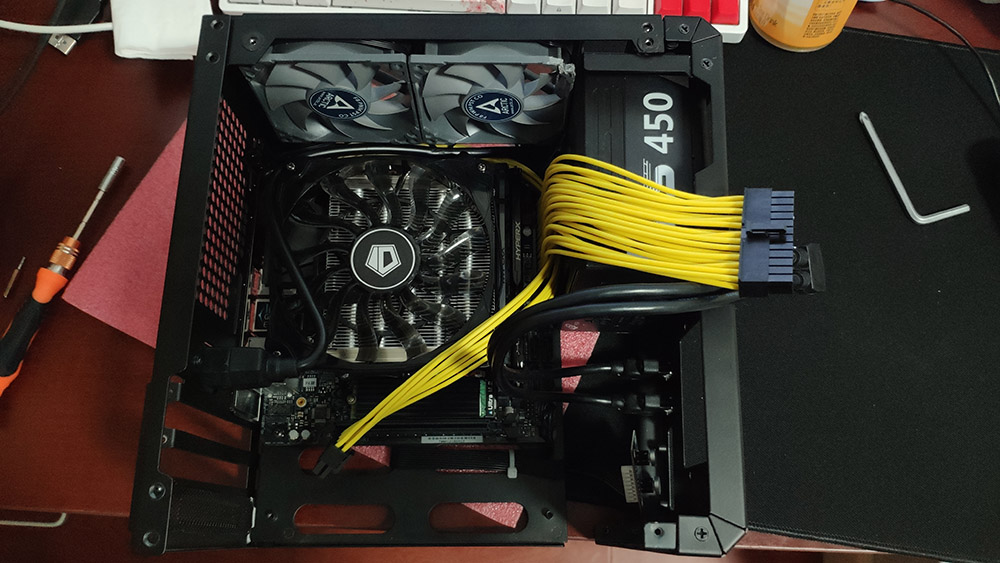
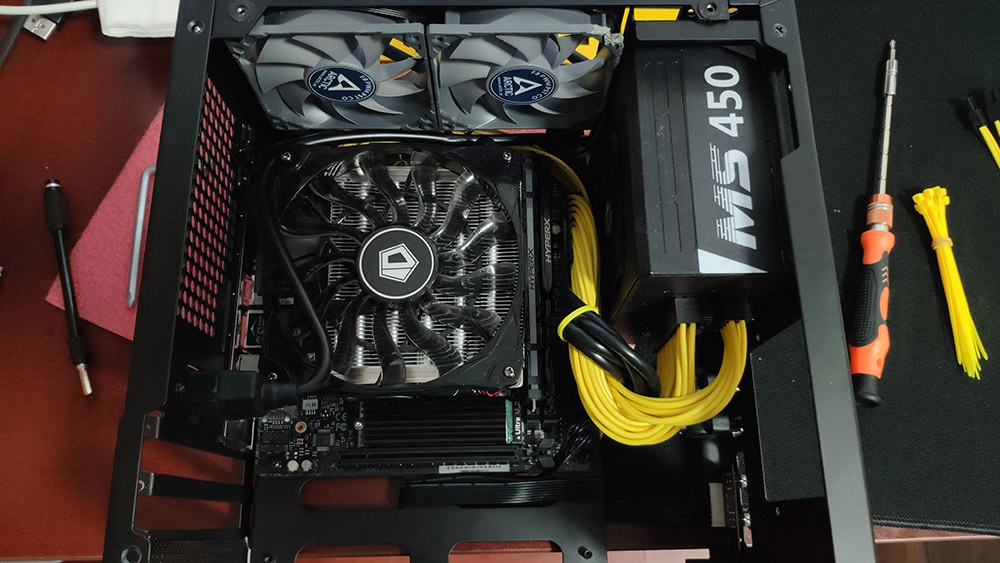
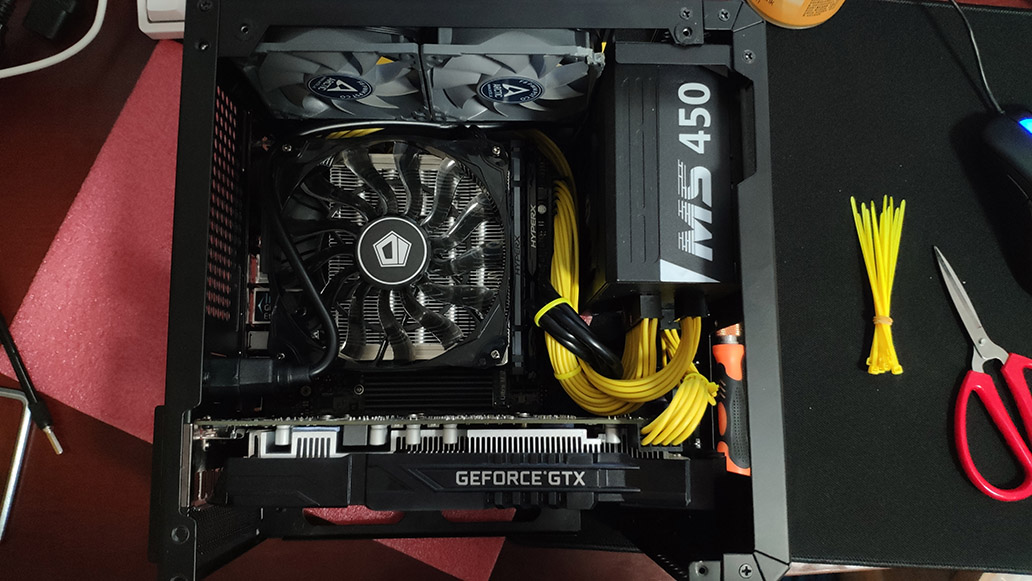
After changing the cables:
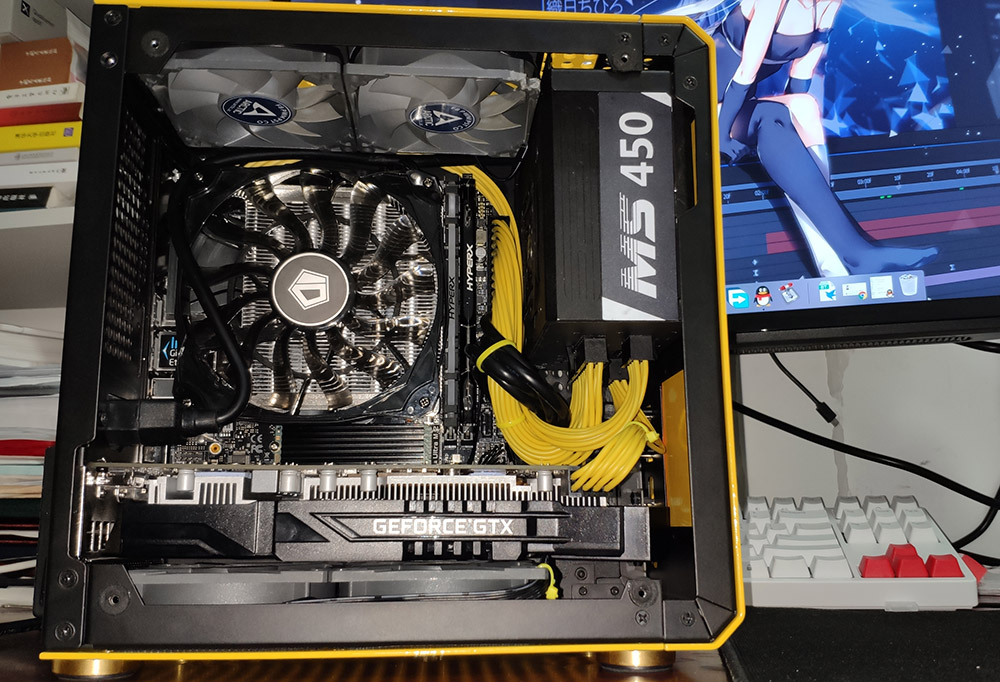
You can clearly see there is much more open space inside the case, which helps airflow move faster and improves cooling.
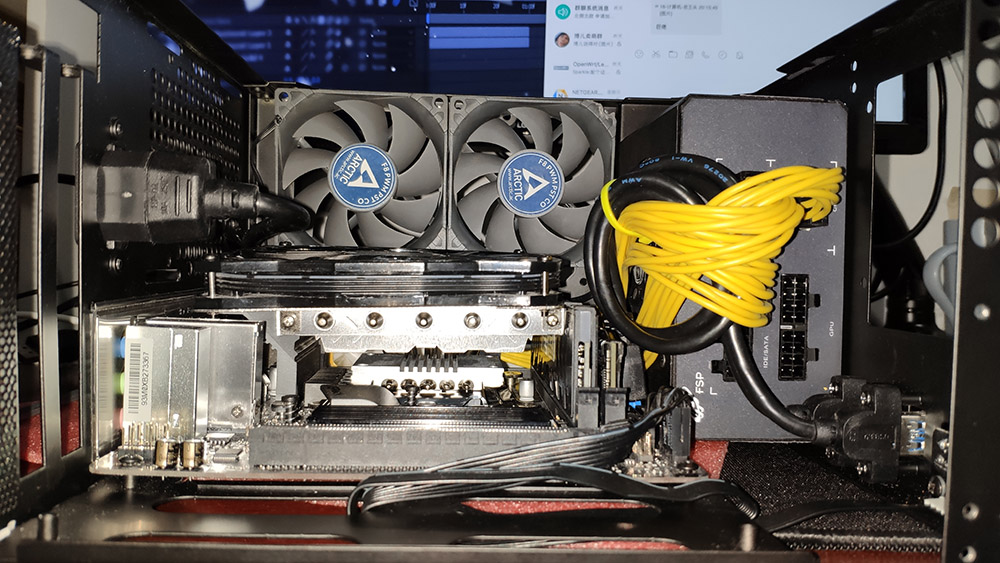
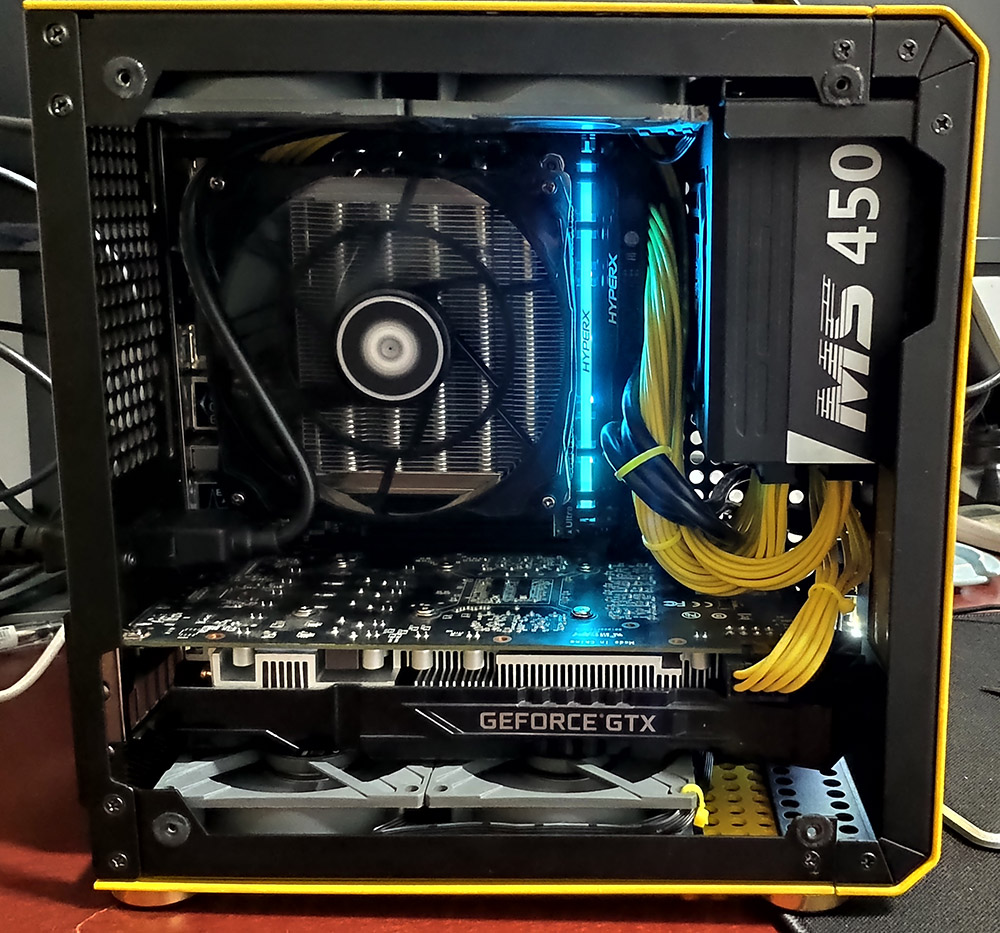
2. The One Weak Point
The obvious weak point is still that ugly black, stiff PSU extension cable next to the fan. If I get the chance later, I would like to replace it with another cable and hide it underneath the cooler.
3. Stress Testing
Compared with the temperatures before the cable swap, almost every component dropped by around 5°C, except for the GPU, which went up by 3°C.
