1. Teardown
1. Rear Cover
Remove the six screws from the rear cover and open it slowly. Be careful: there is a Wi-Fi antenna cable connecting the cover to the main unit. Disconnect that cable before fully removing the cover.
Note: after removing the single screw on the motherboard side, the antenna cable can be detached with a little force.
2. Cooling Fan
Remove the four screws around the fan. There is also a cable between the fan and the motherboard, and it can be disconnected with a little force.
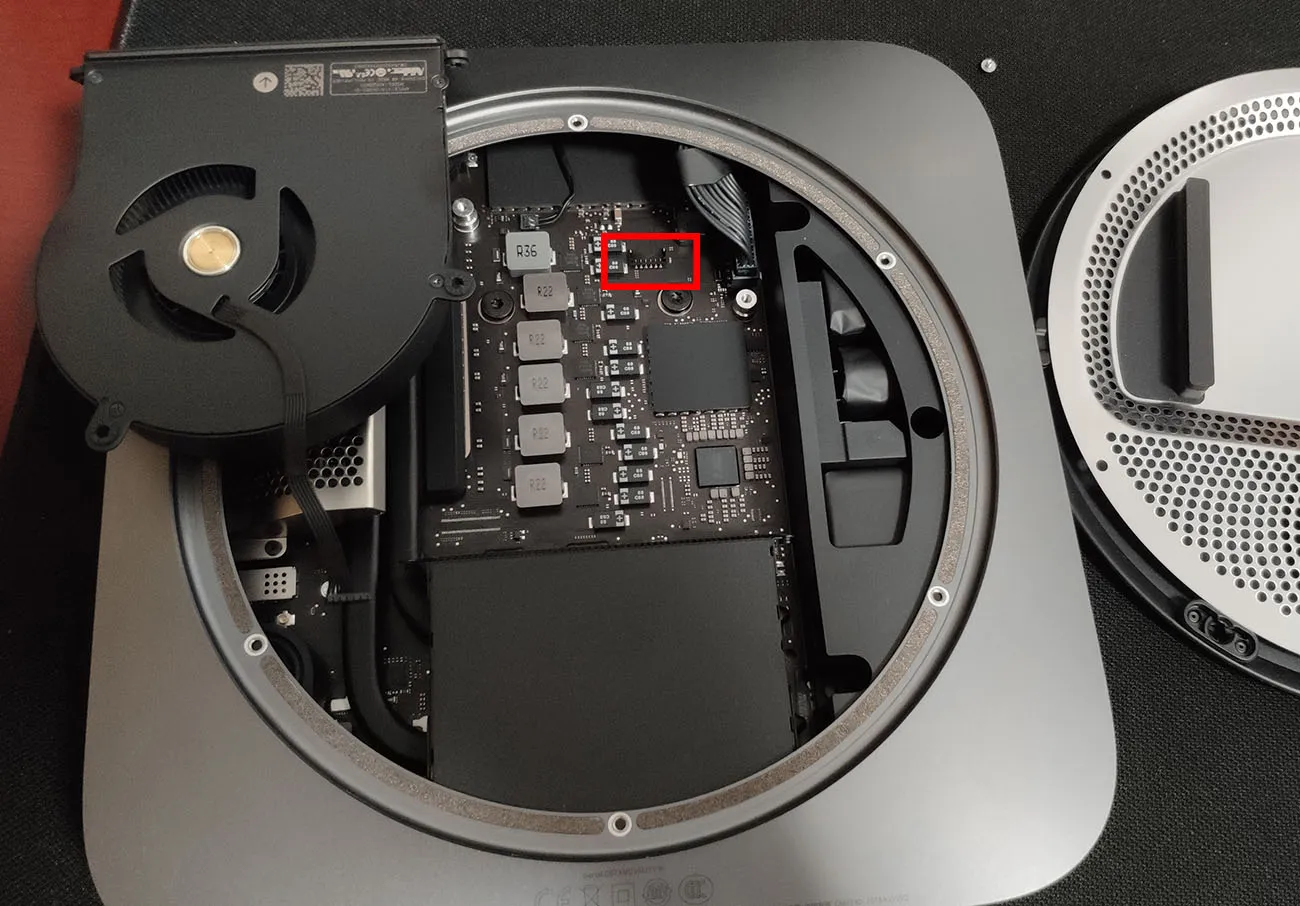
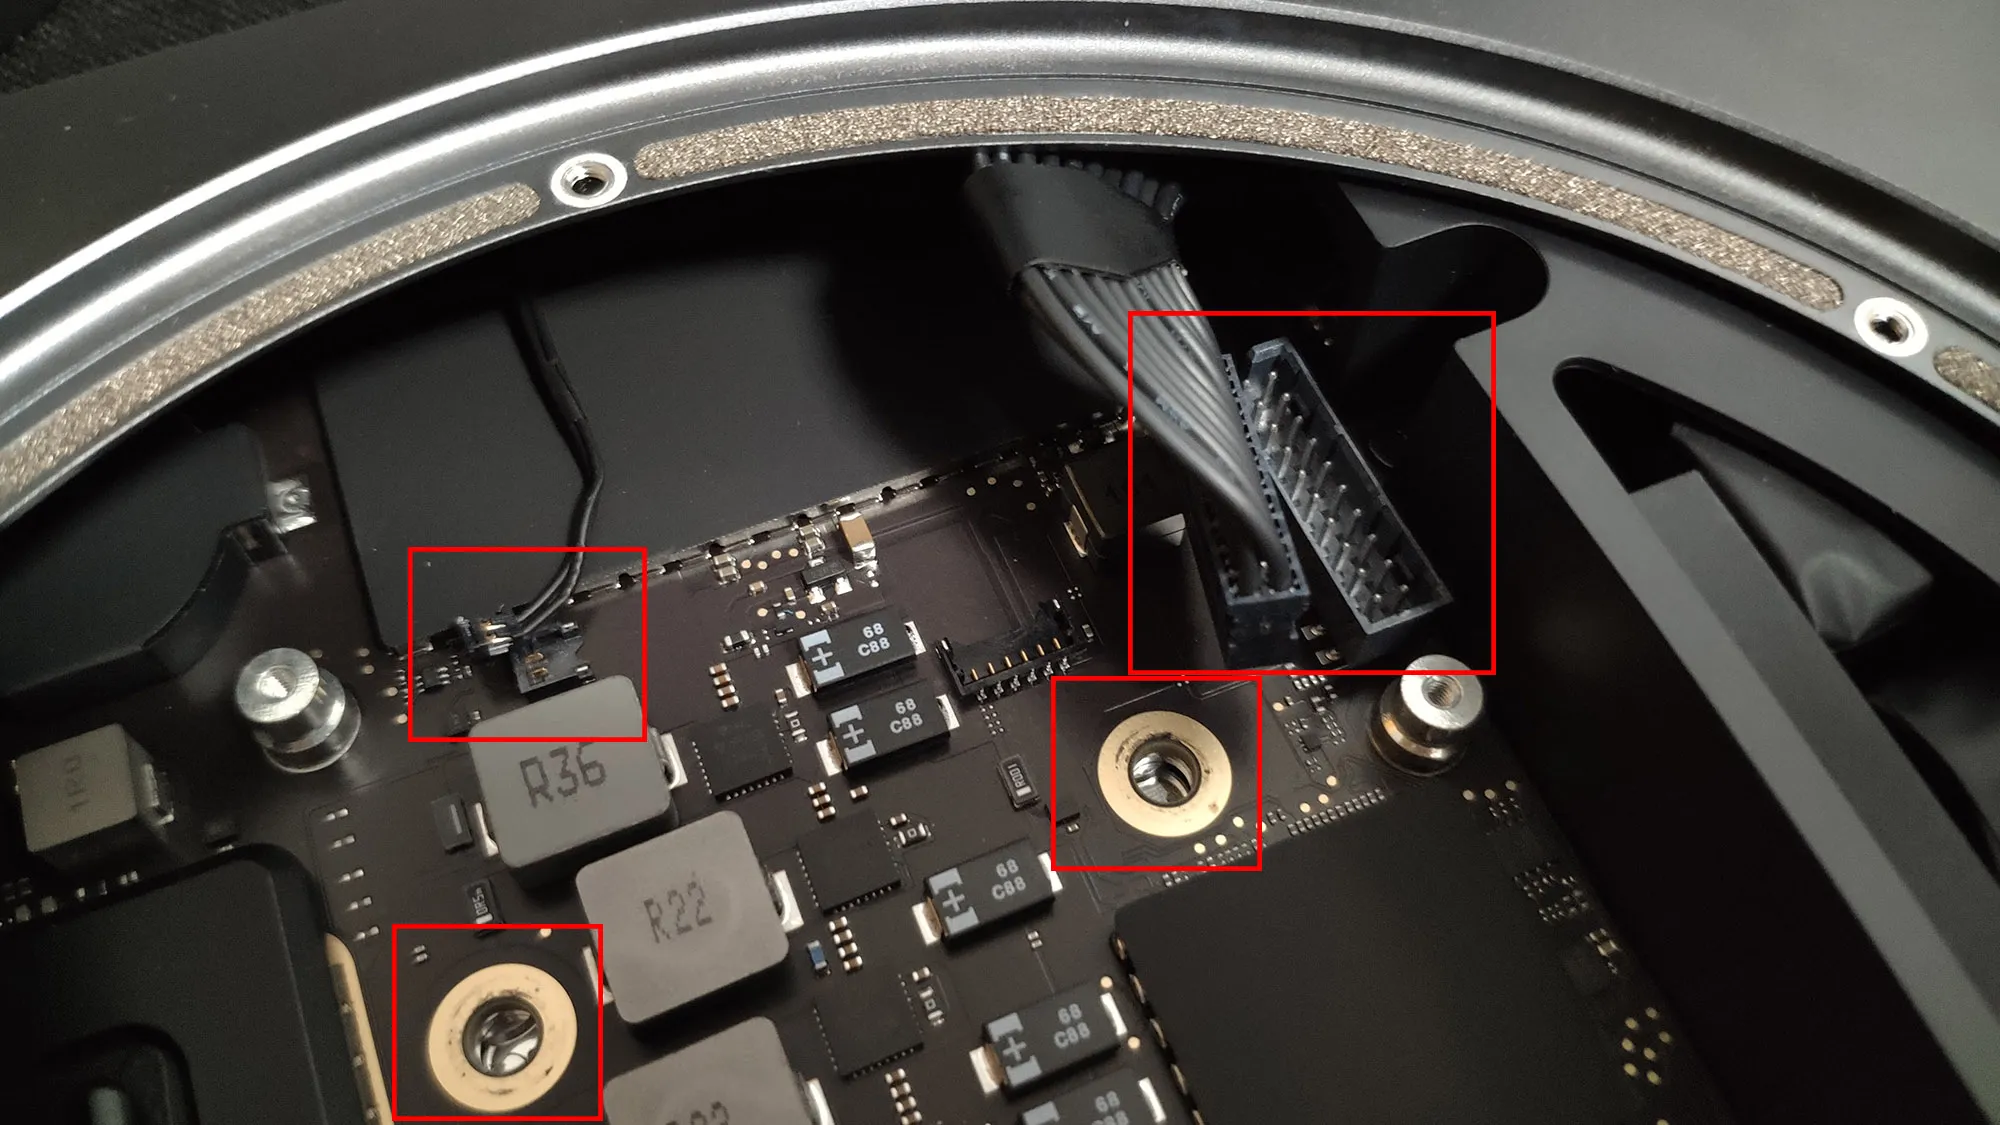
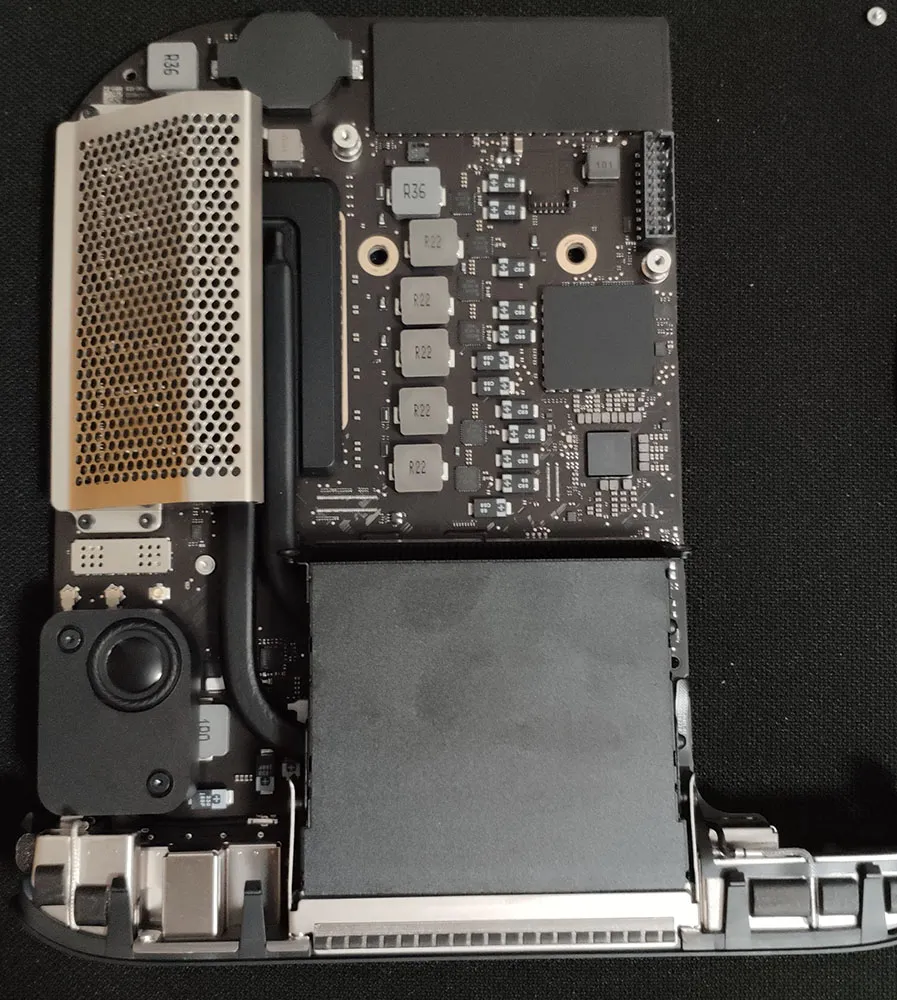
3. Free the Motherboard from the Chassis
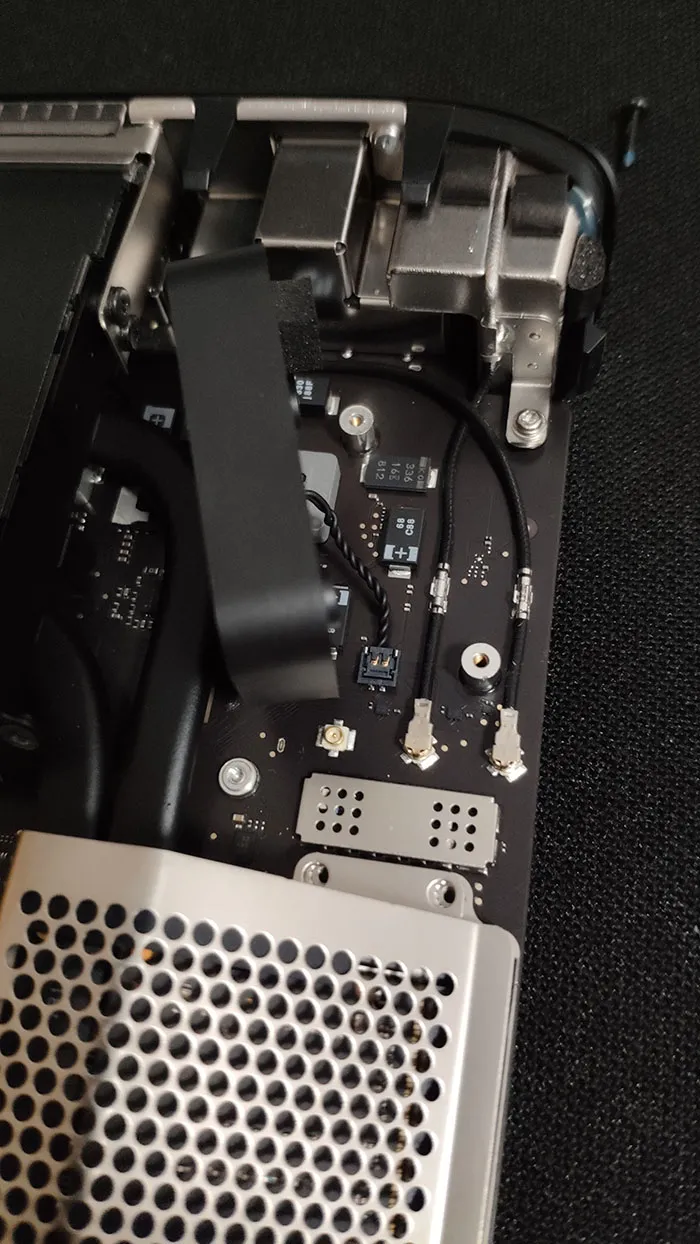
First remove the two large black screws on the motherboard, then disconnect the two cables above them.
Note: use a gentle hand on the smaller connector, but the larger power cable definitely takes more force.
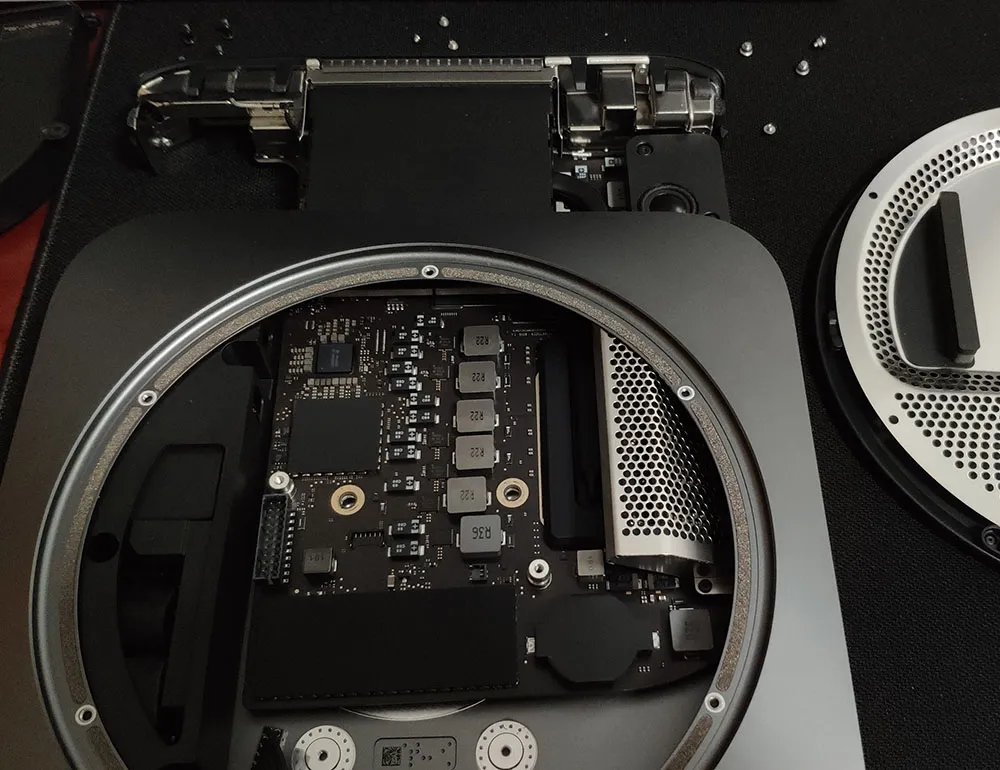
4. Separate the Board Assembly from the Shell
Place both thumbs against the heatsink area and push outward with a bit of force. That will slide the motherboard assembly out of the chassis.
Make sure those two cables are disconnected before you do this.
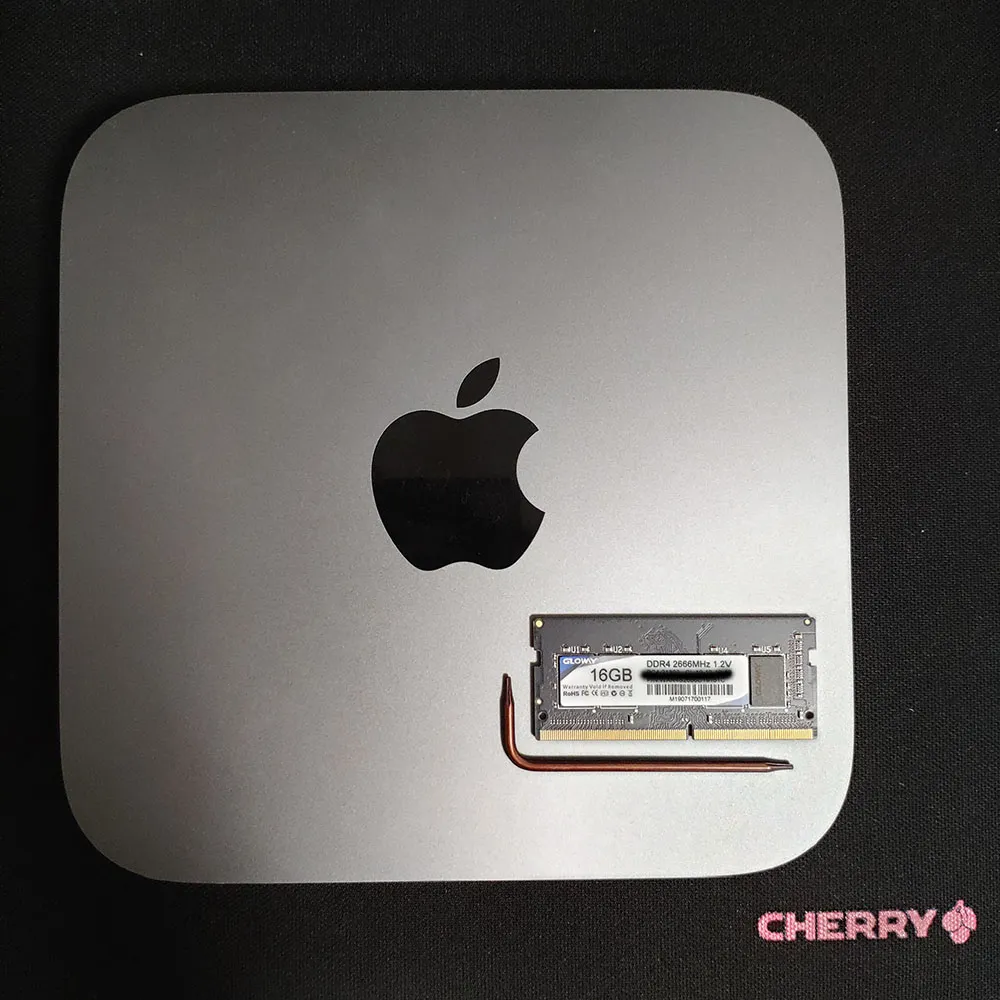
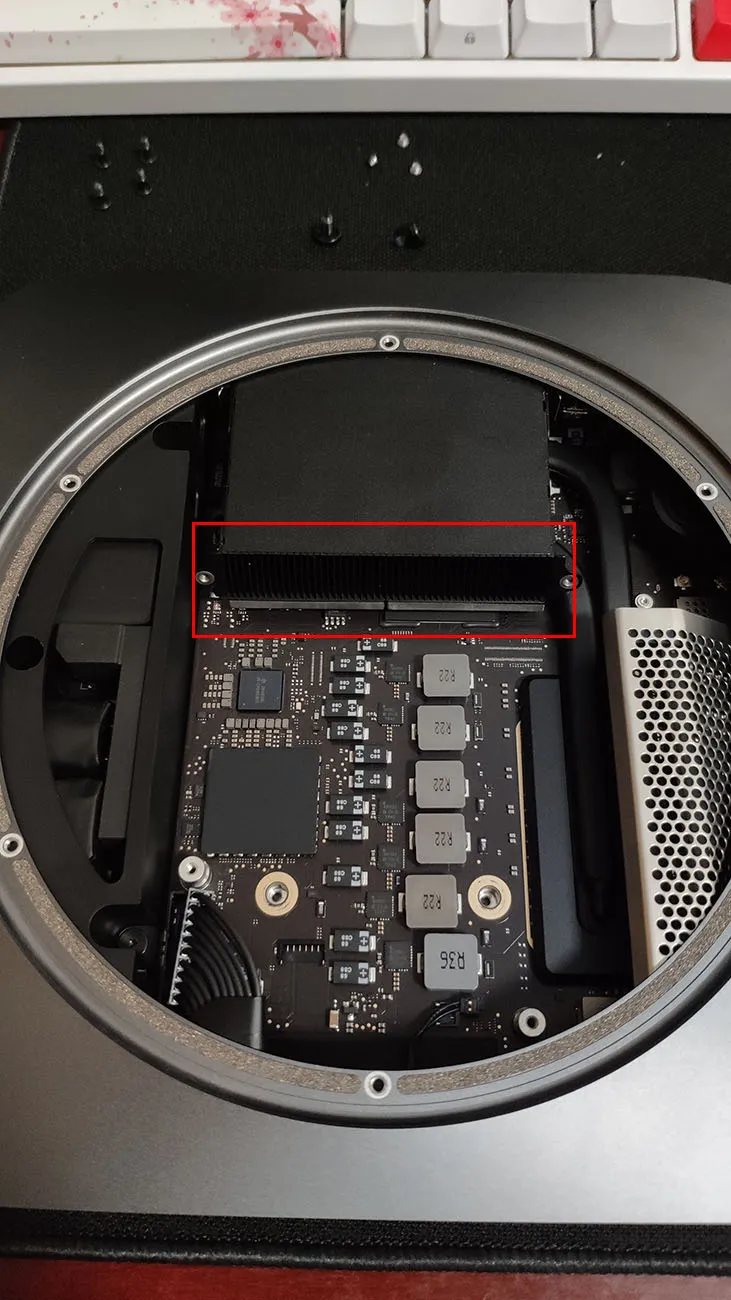
5. Replace the RAM
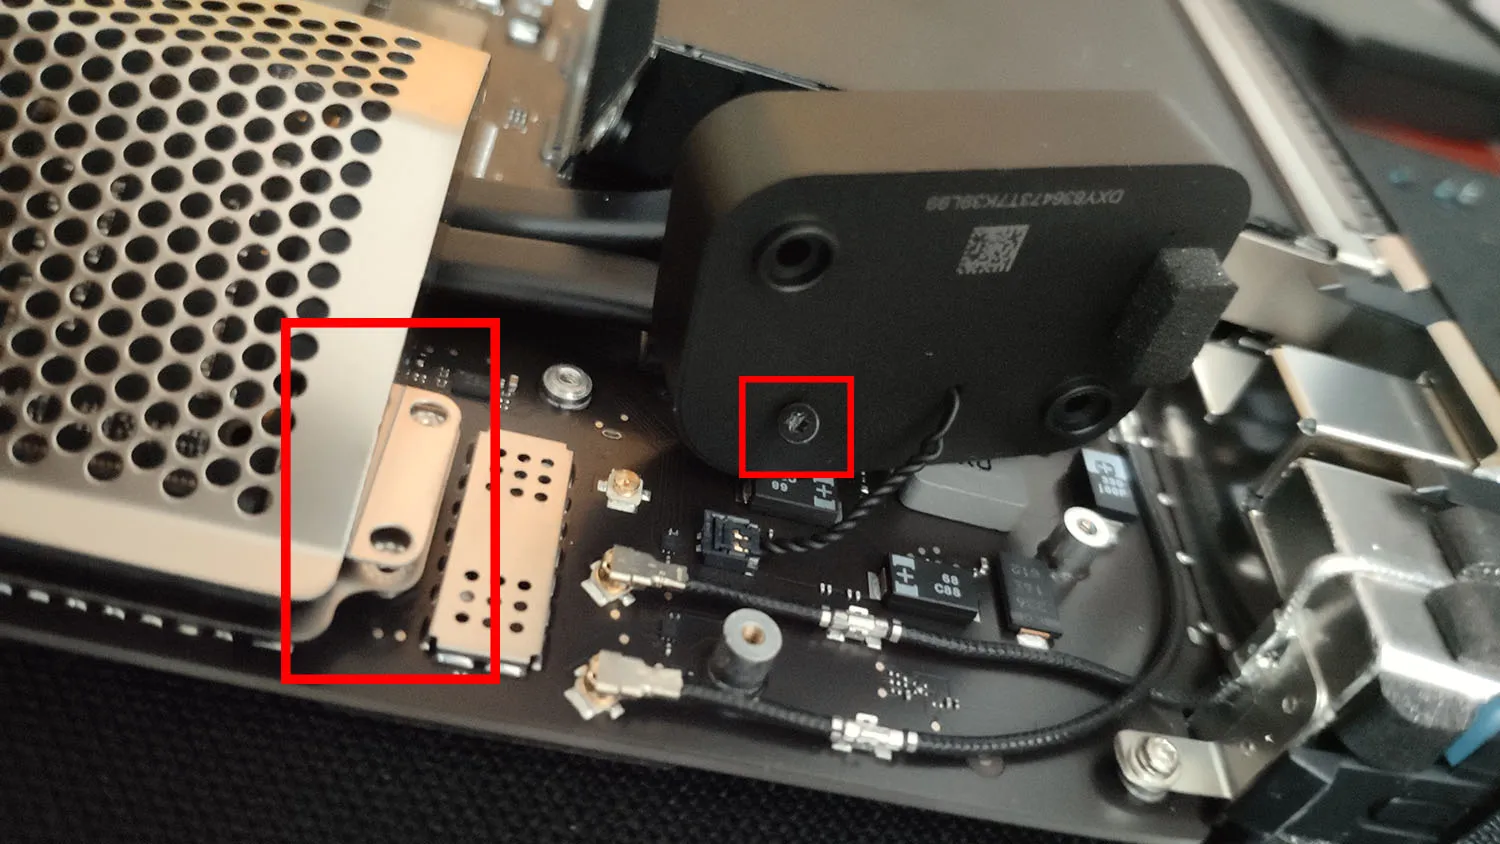
Remove the four screws on the white metal shield, lift it up, and the memory slots will be exposed.
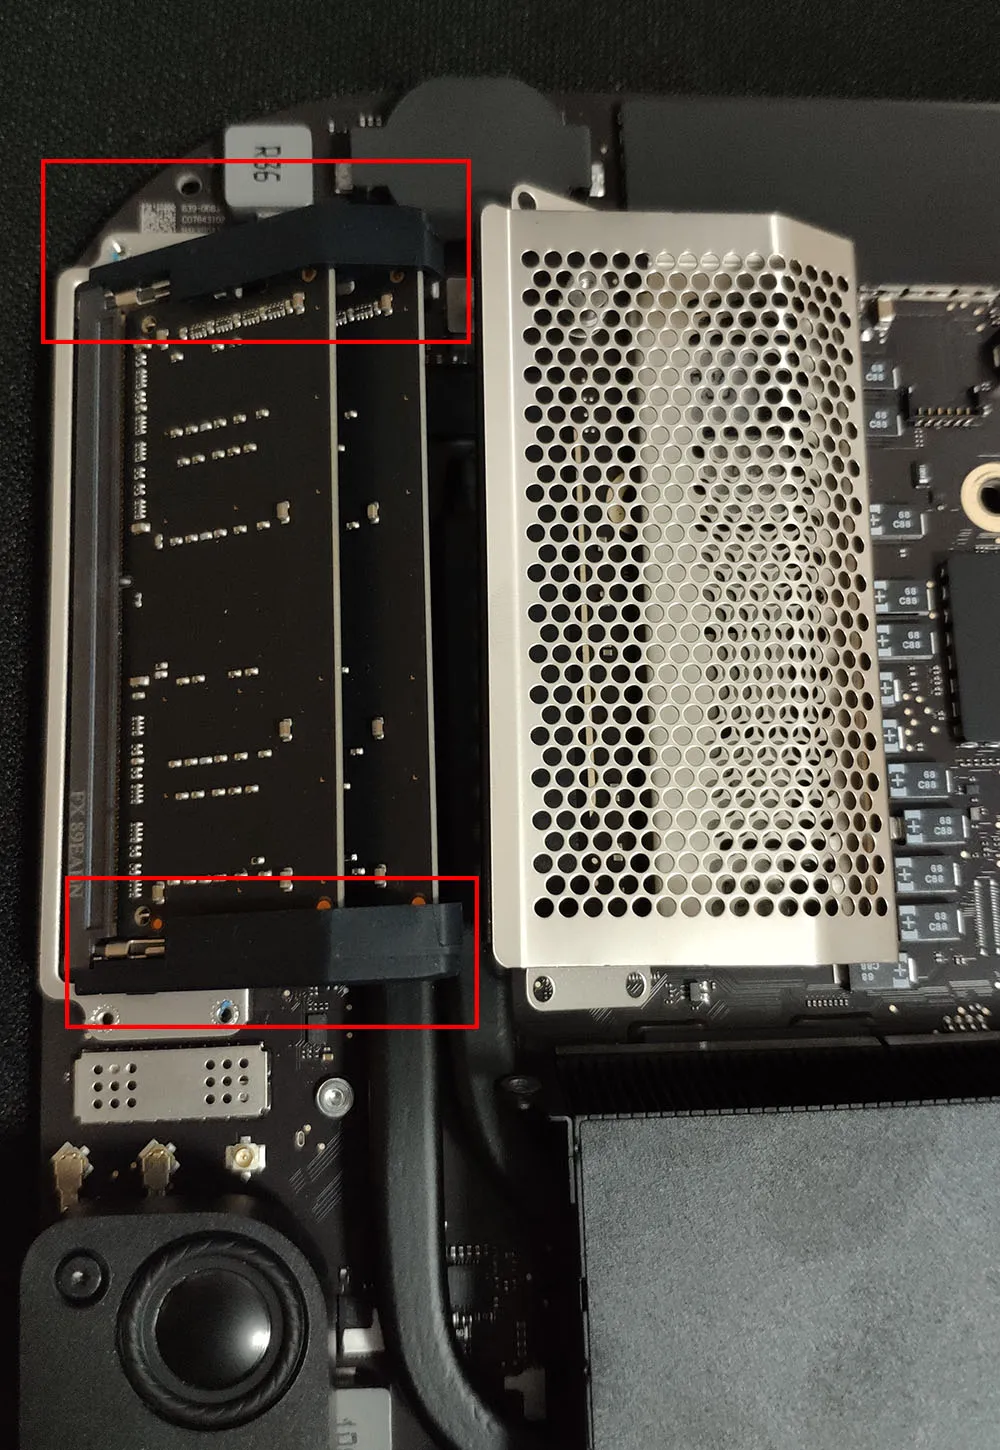
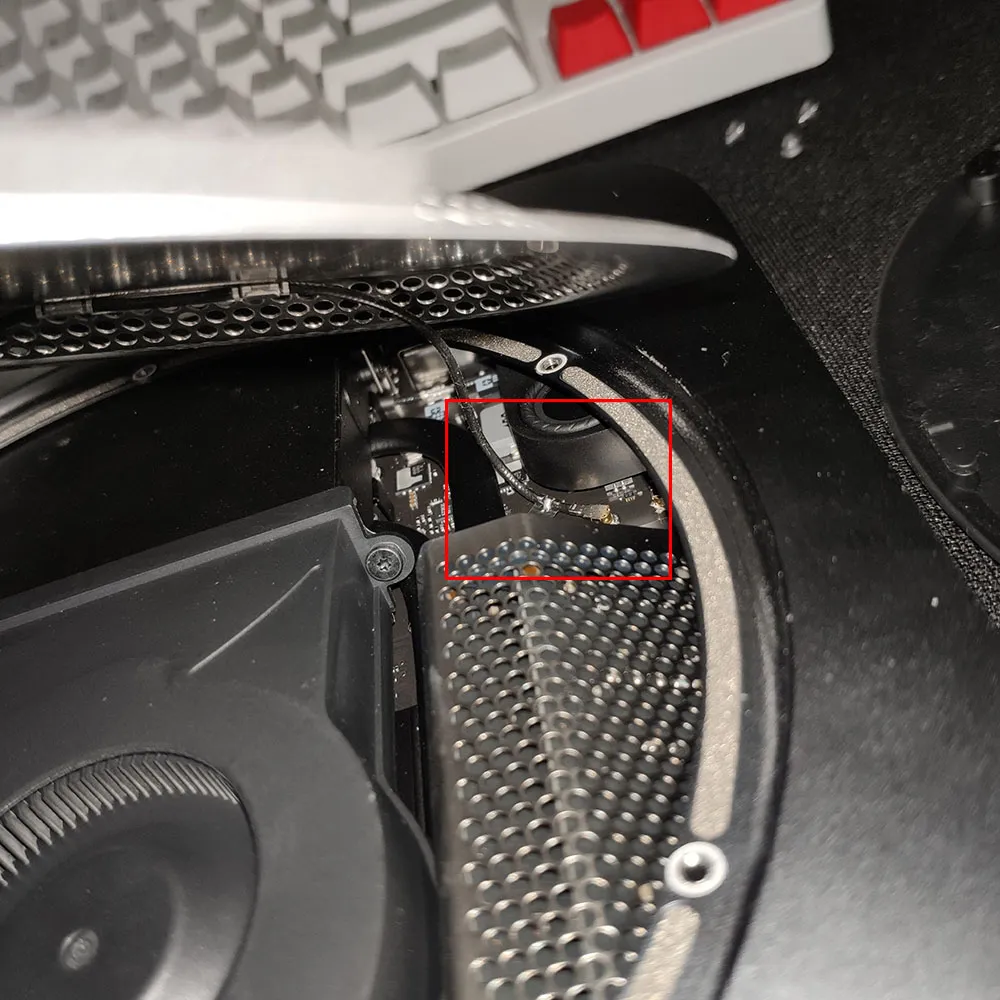
Push the two retention clips inside the red box outward and the RAM will pop up. Then swap in the new modules.
2. Reassembly
Put everything back together in reverse order.
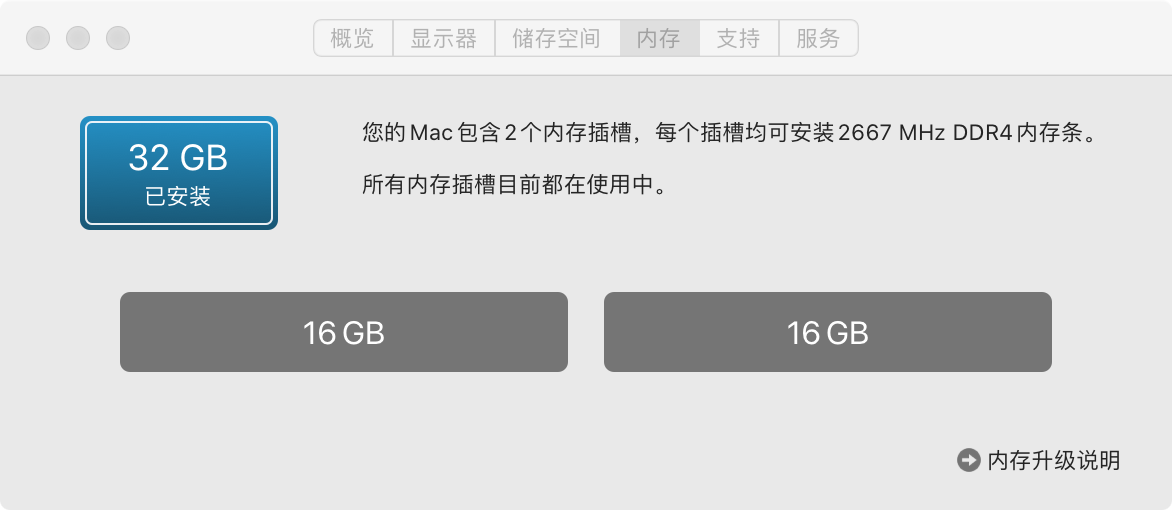
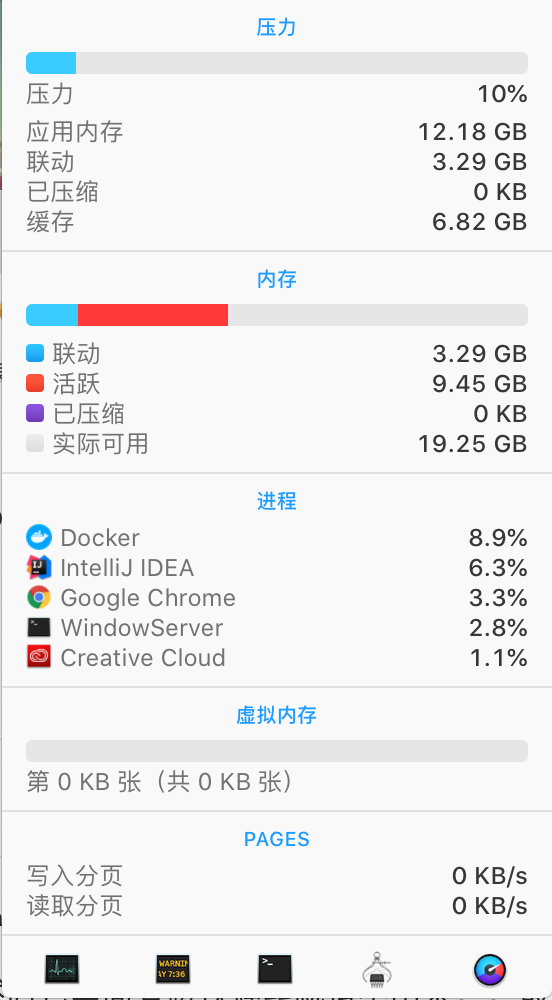
Then open a few apps and enjoy the upgrade.
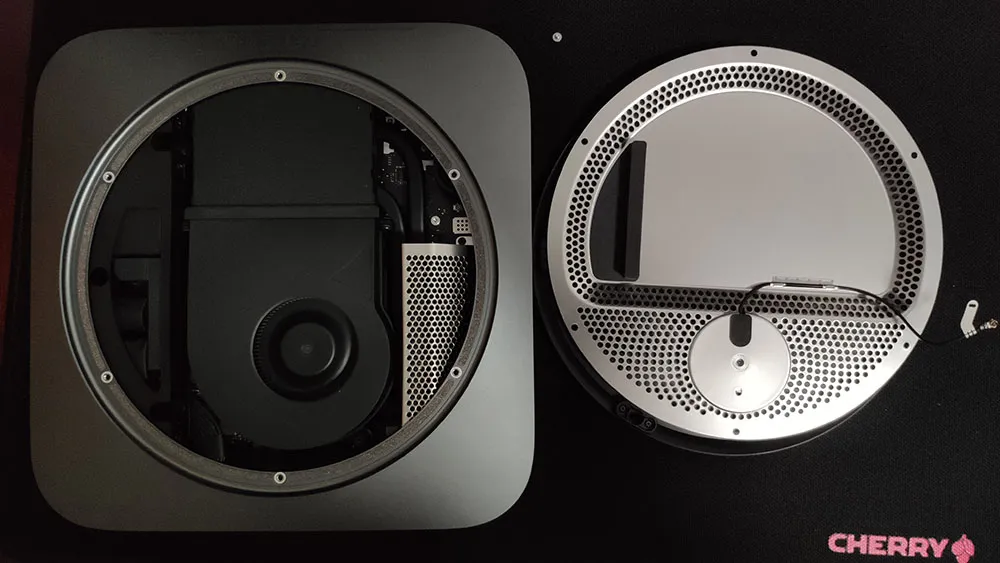
3. A Small Mishap
1. Guess Why I Had to Remove This Part
While I was reinstalling the metal RAM shield, one of the screws slipped under this part, which I think is the speaker. Since there is a magnet inside, the screw would not shake loose at all, so I had no choice but to disassemble it too.
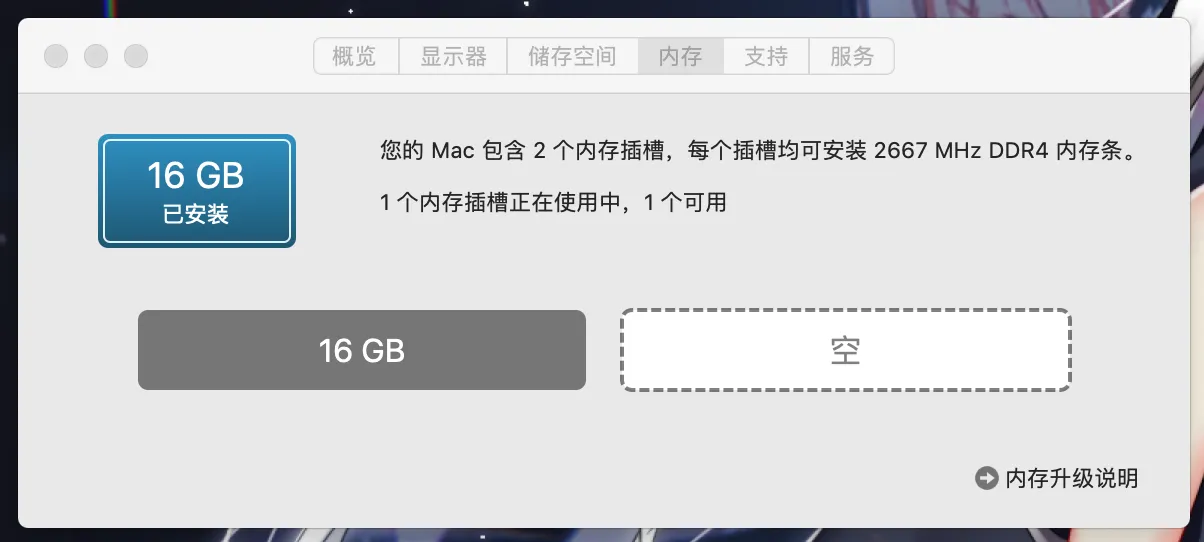
2. The RAM Was Not Seated Properly
On the first boot, the RAM was not installed correctly and only one module was detected, so I had to tear it down and reseat the memory again.