1. Installation
0. Preparation and a Few Notes on Using Manjaro
-
A computer. I tested this on a Surface Pro 4 and also on a regular desktop with a 2K monitor.
-
A USB drive.
-
An installation image: https://manjaro.org/download/. The link points to the GNOME edition, but you can choose any desktop edition you prefer.
-
A USB writing tool. I recommend Rufus. Mirror download, password:
1096
1. Write the USB Installer
Plug in the USB drive, open Rufus, and write the image to it. Remember to use DD image mode.

2. Install
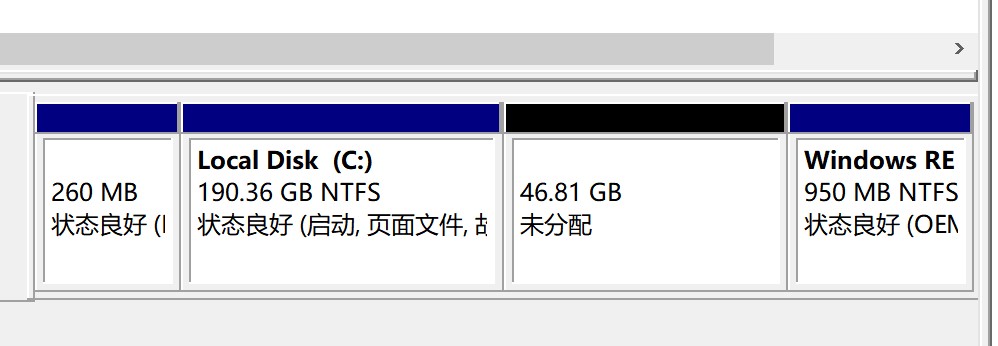
Use Windows 10’s Disk Management to shrink a volume and create some unallocated space.
Set the computer to boot from USB, then reboot with the USB drive inserted. The Surface setup is worth calling out separately:
[collapse status=“false” title=“Click to view the Surface USB boot steps”]
Hold Power + Volume Up while turning it on.
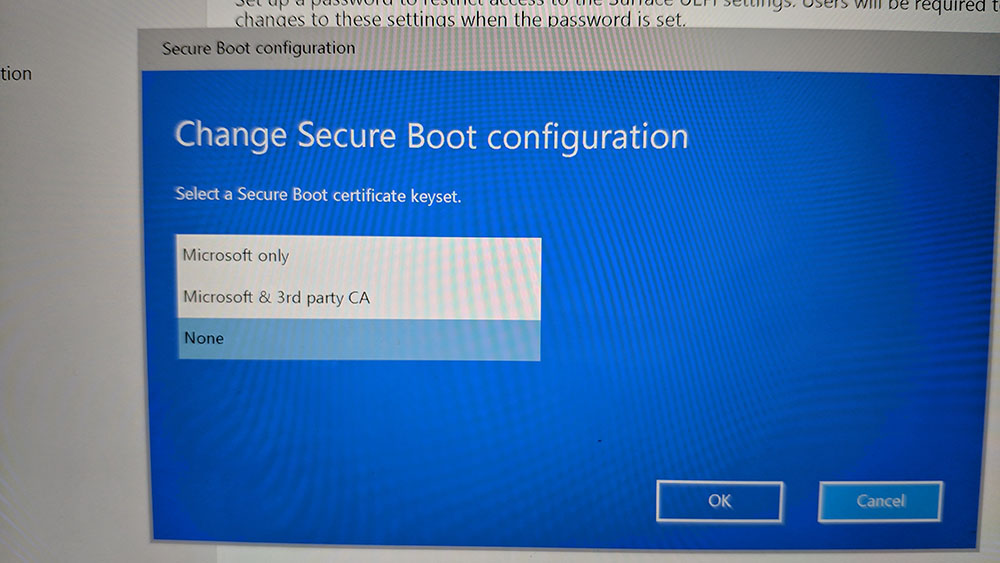
 Disable TPM, then choose
 Change configuration, and set it to None.
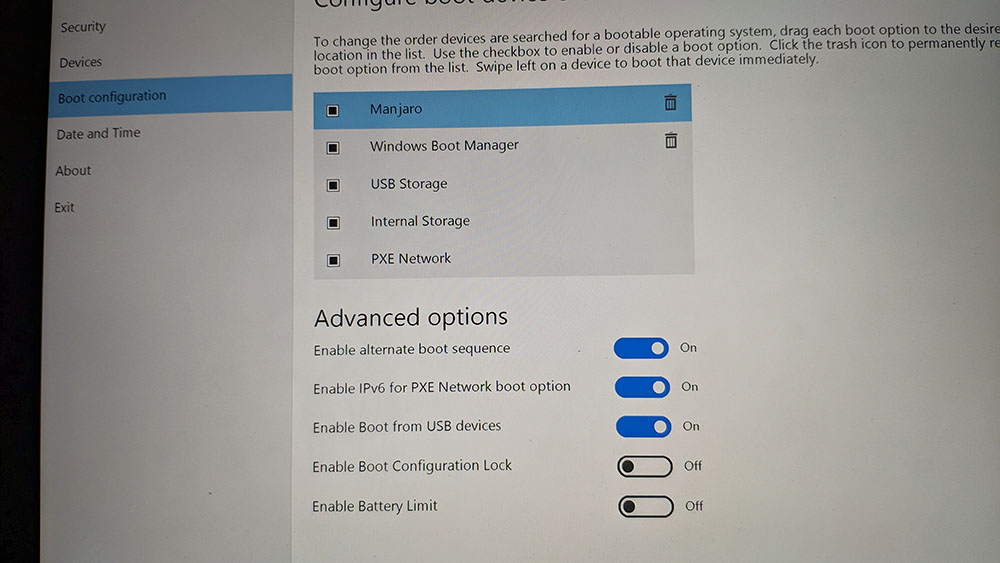
 Also make sure
 USB Storage is moved to the top of the boot order.
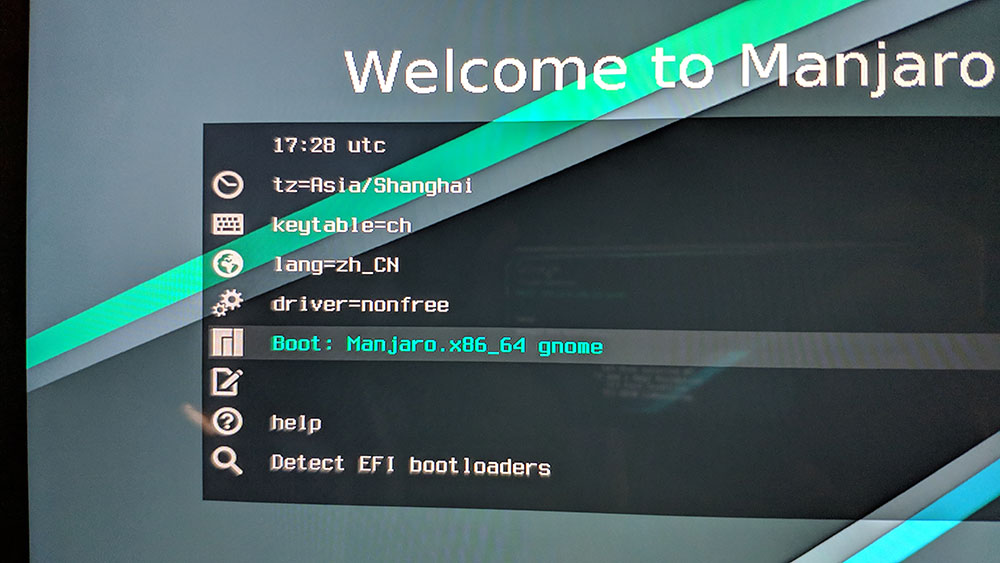
 After that, reboot the Surface with the USB drive inserted and you should enter the Manjaro boot screen.
[/collapse]
After that, reboot the Surface with the USB drive inserted and you should enter the Manjaro boot screen.
[/collapse]
Configure the time zone and other basic options as needed. Make sure the driver option is set to nonfree, then proceed to boot into the installer.
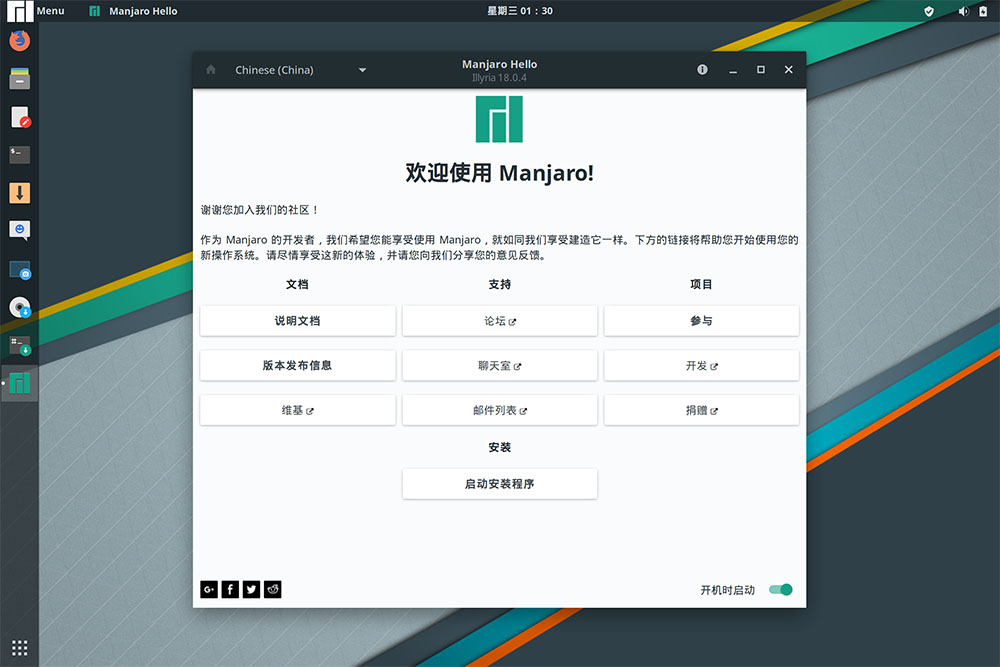
 You can choose the language in the upper-left corner, then click to launch the installer.
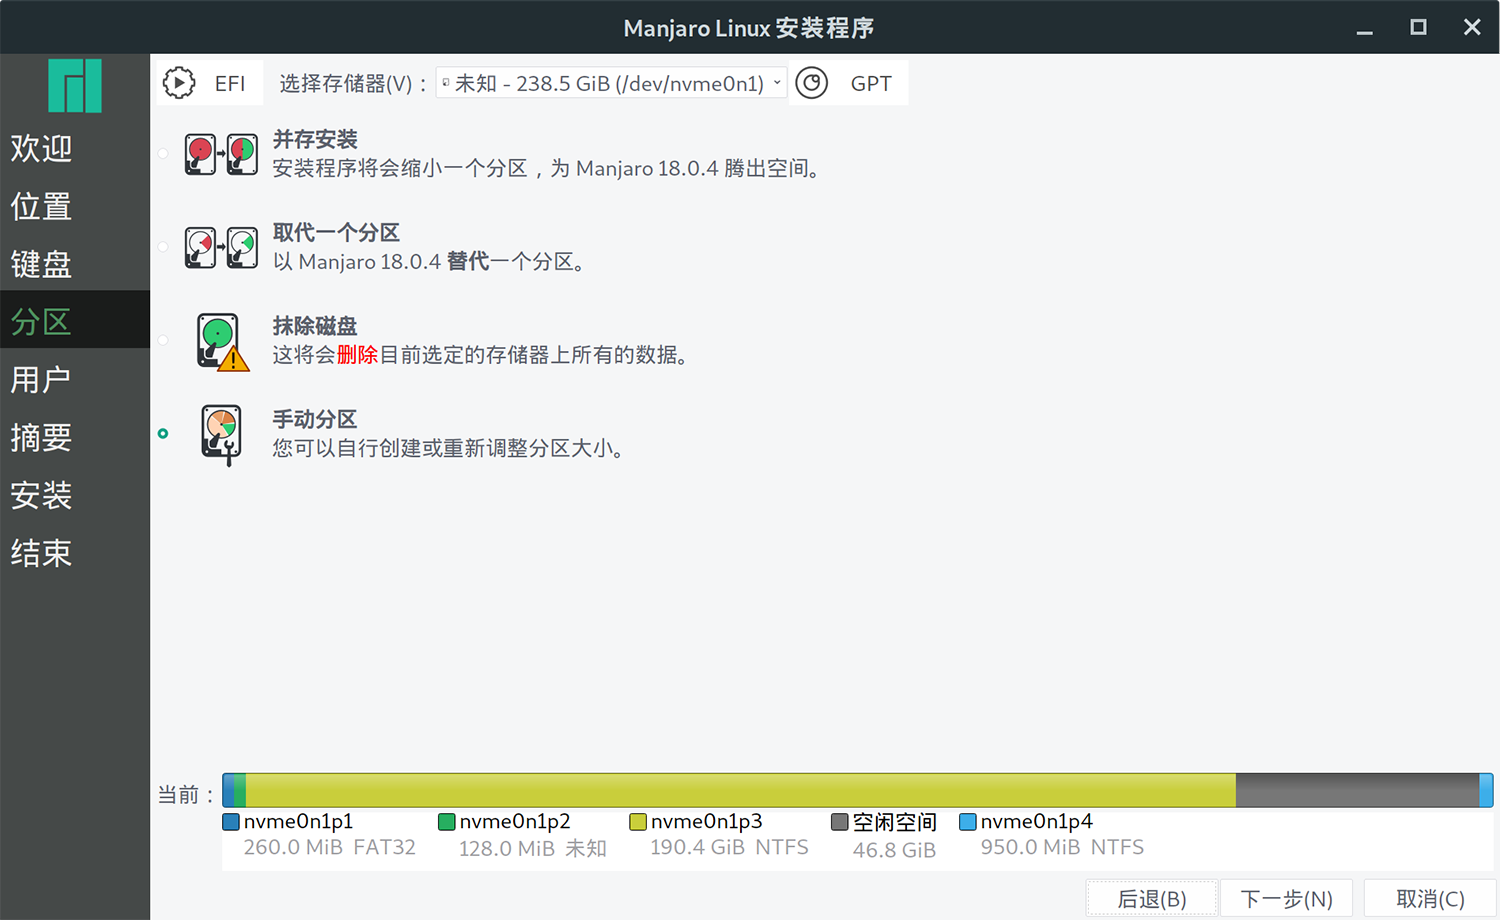
 Most of the earlier steps are straightforward. Here, choose manual partitioning.
Note: I am not especially familiar with partitioning best practices, so you may want to read more on that yourself.
Most of the earlier steps are straightforward. Here, choose manual partitioning.
Note: I am not especially familiar with partitioning best practices, so you may want to read more on that yourself.
First, select the FAT32 partition and mount it as /boot/efi. Important: set the content option to keep.
If you do not already have one, create a 100 MB partition yourself and mount it as /boot/efi.
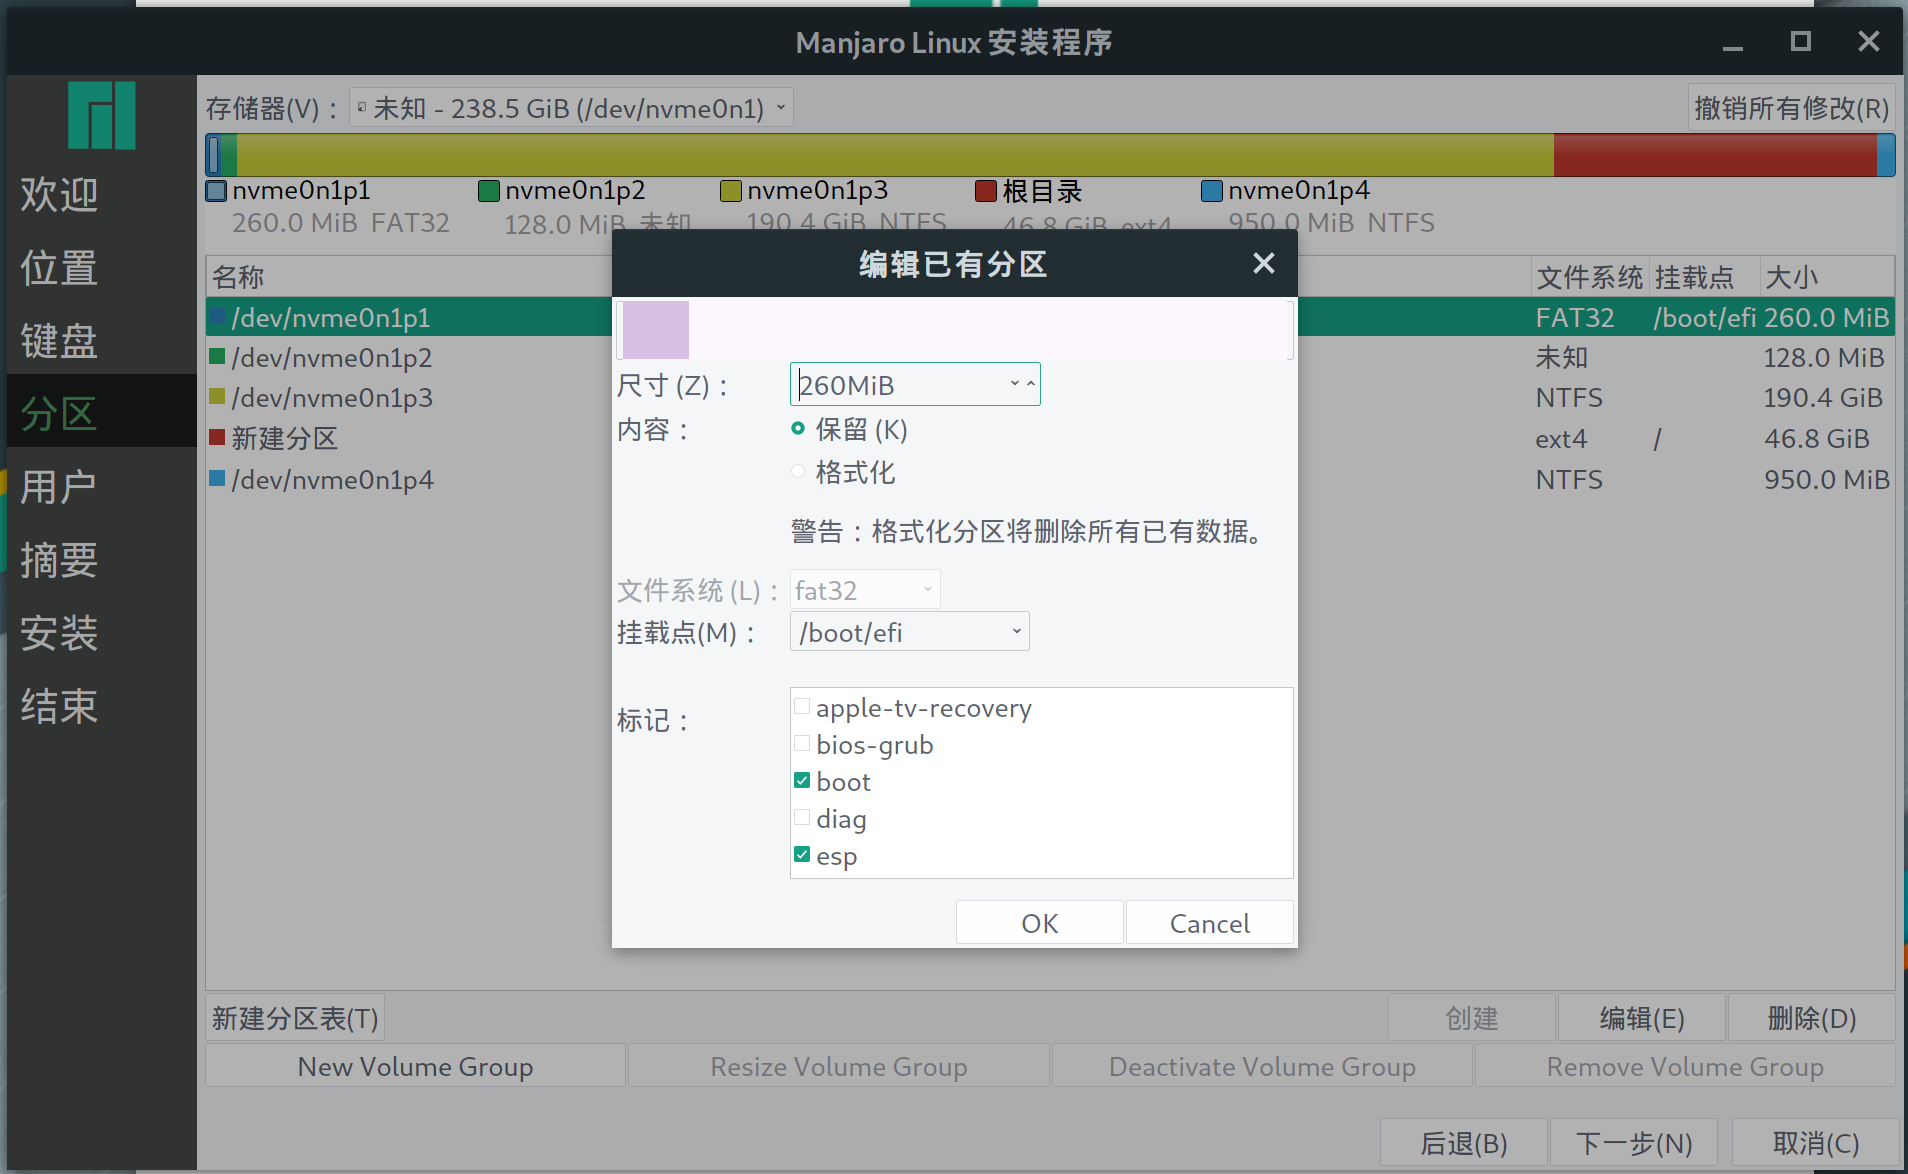
Then select the unallocated space you created earlier and simply mount it as /.
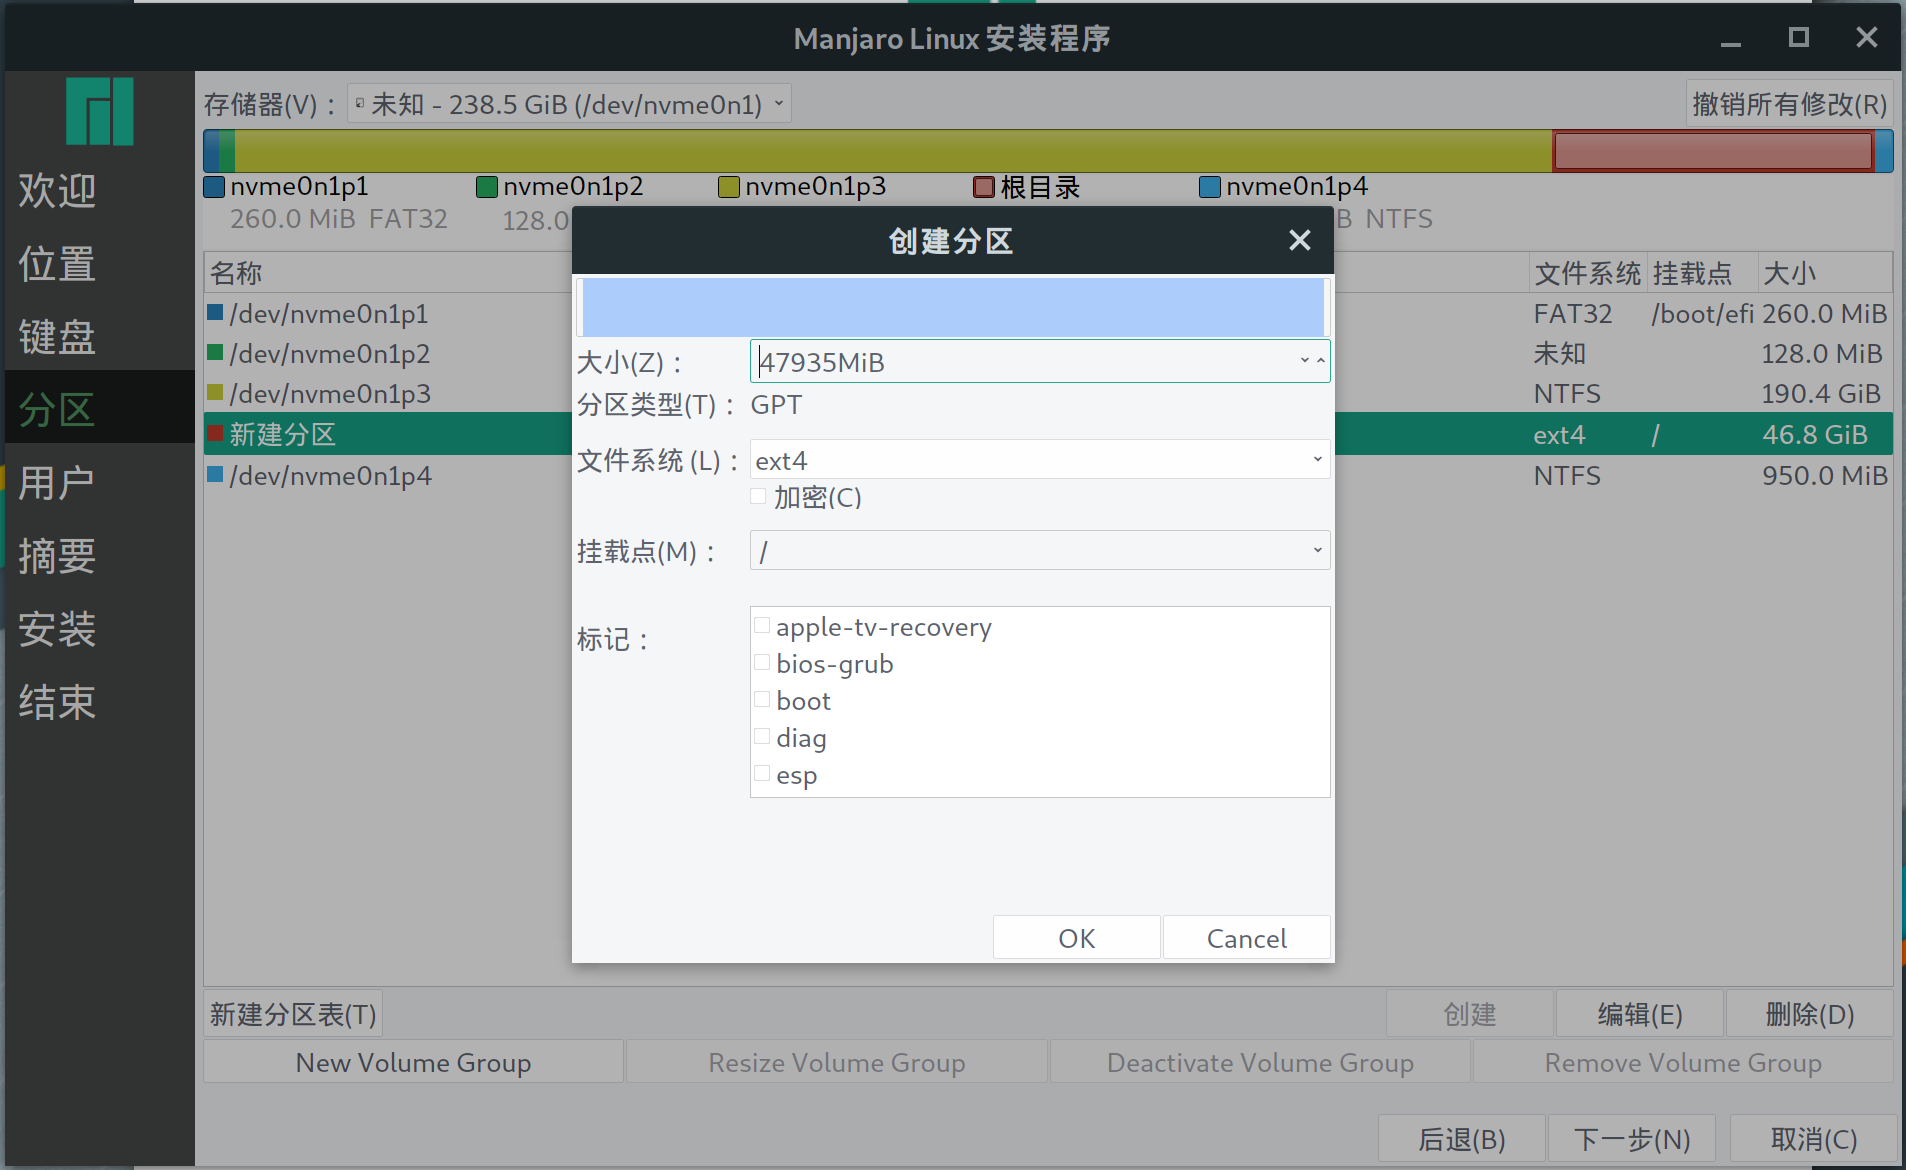
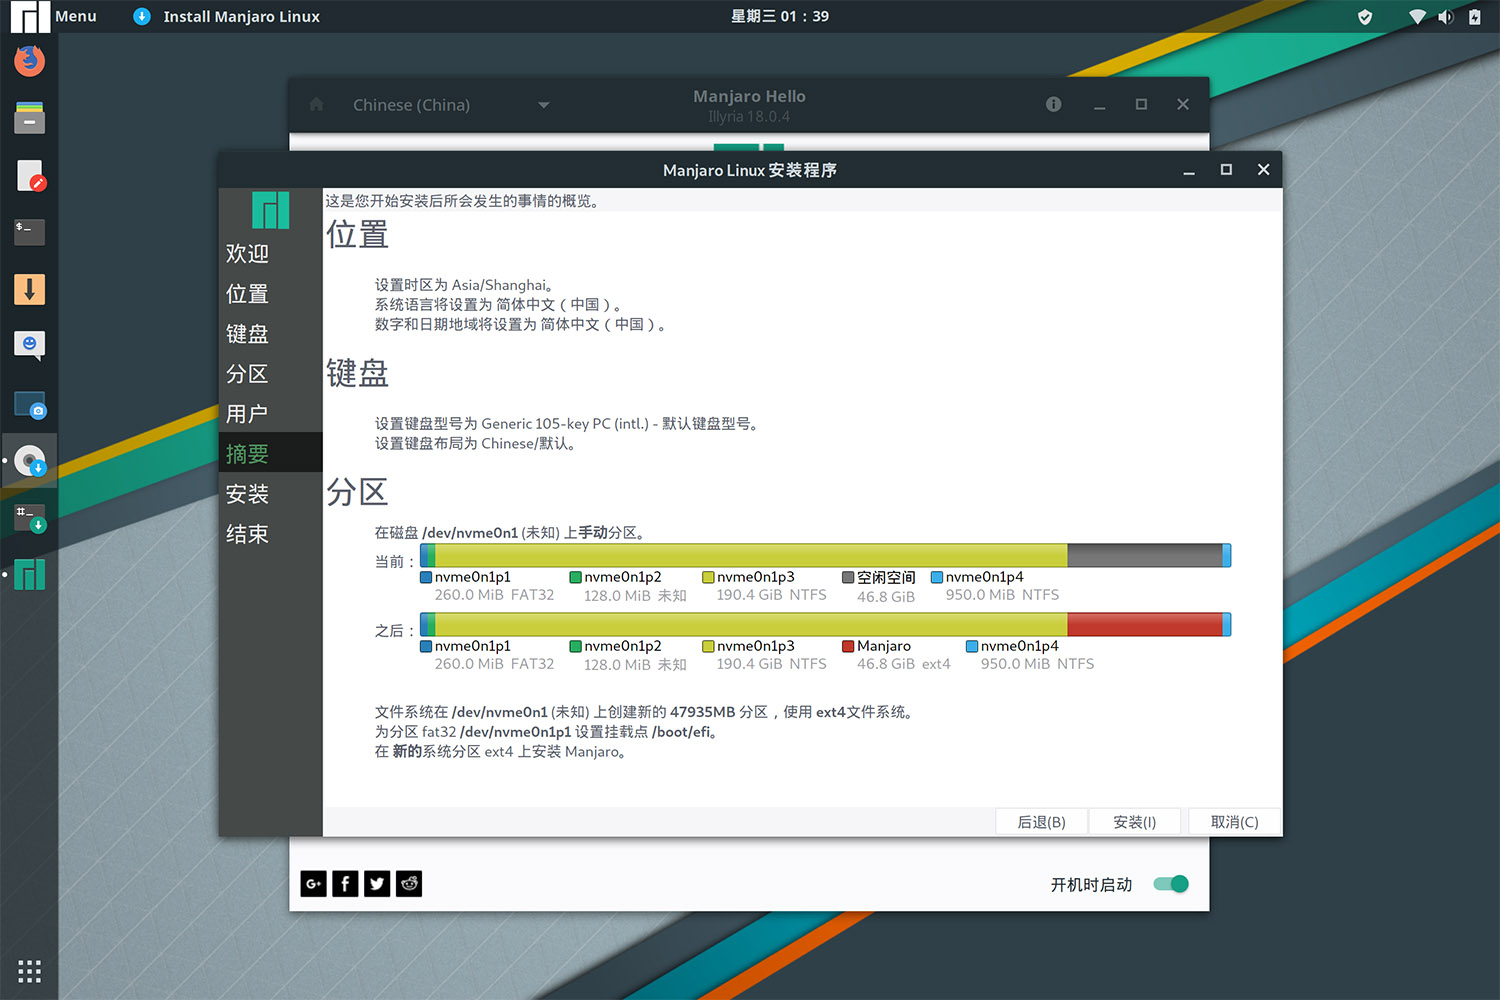
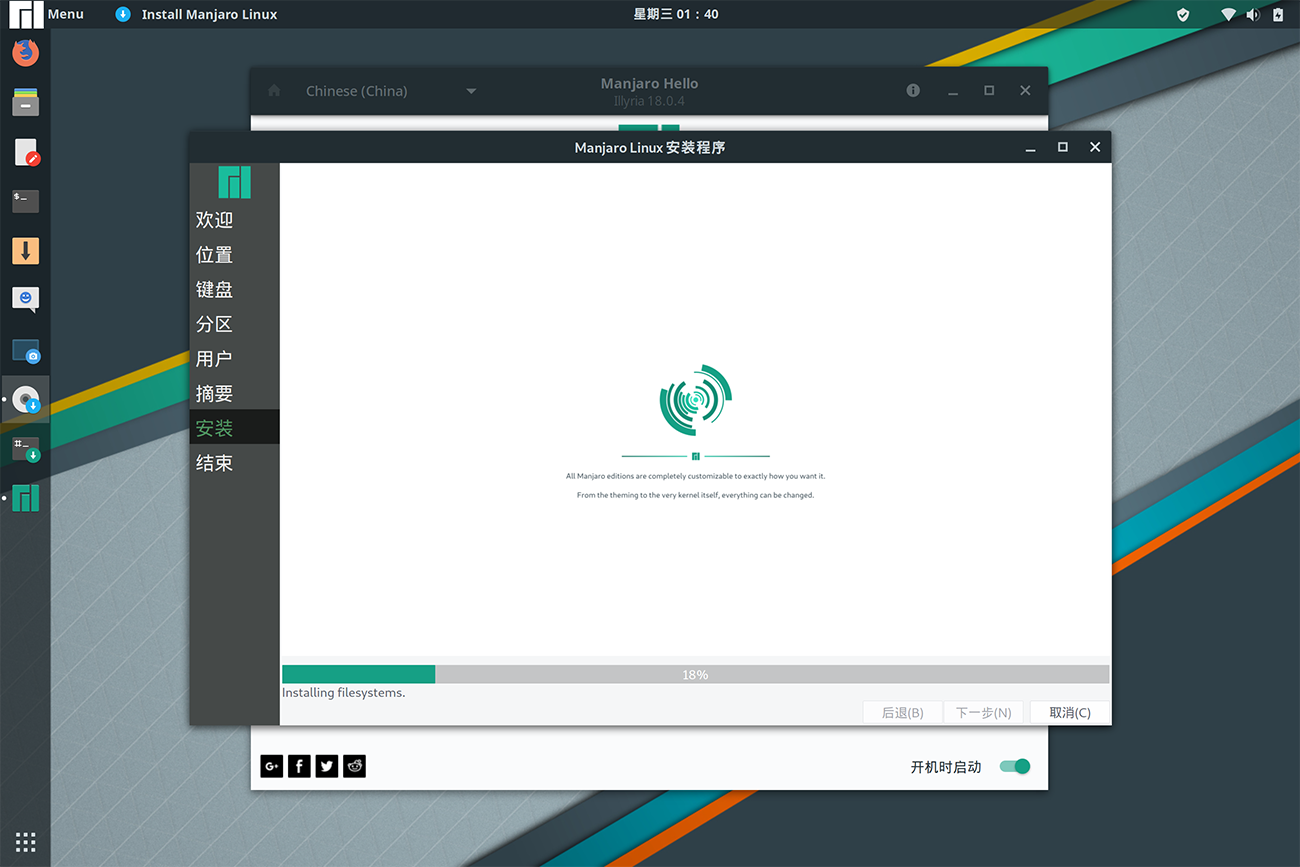
After that, you can go ahead and install.
2. Configuration
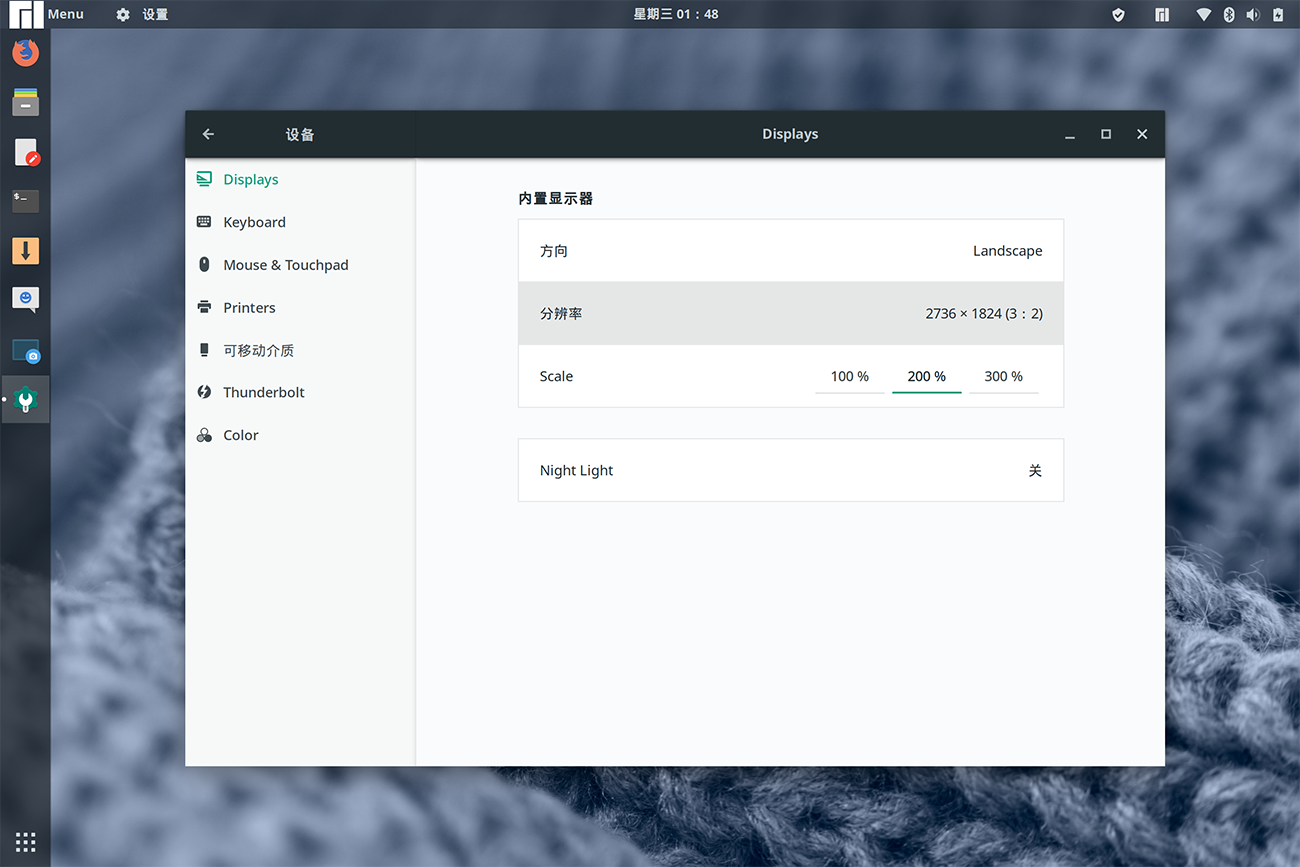
0. HiDPI Scaling
On the Surface, the display scaling is automatically set to 200%, which is already usable.
For other high-resolution displays, such as a 25-inch 2K monitor, 100% scaling is too small while 200% is too large.
I recommend the following article as a reference: https://www.jianshu.com/p/ad7452239bc5
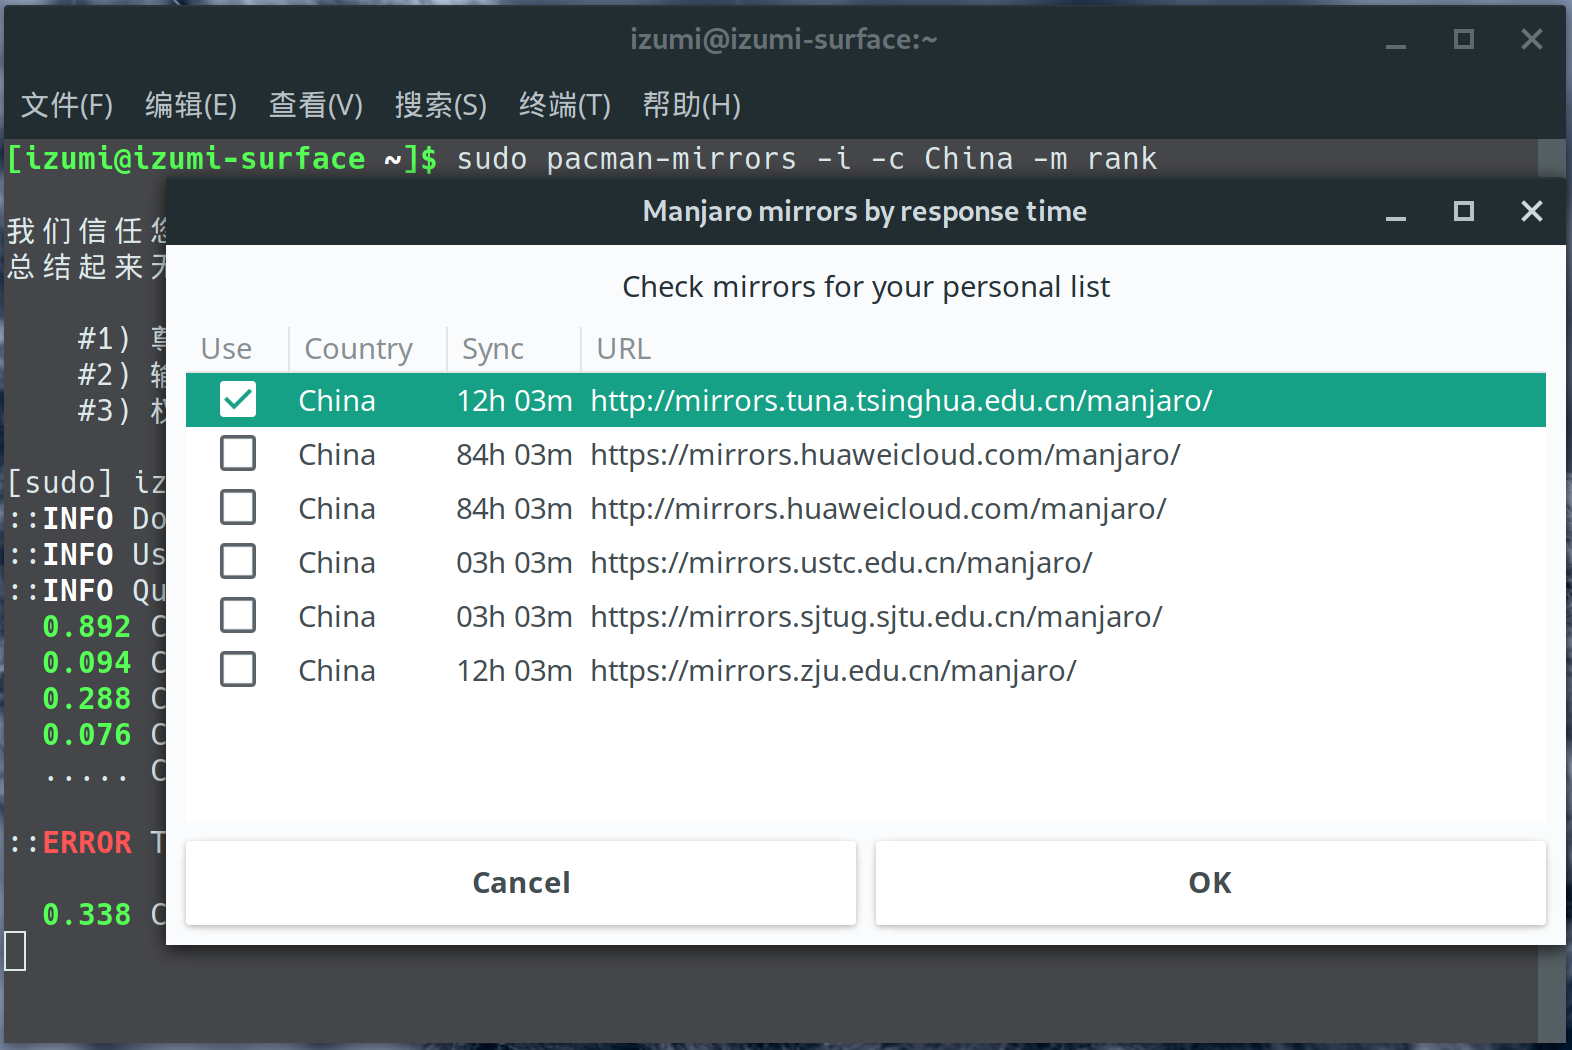
1. Mirror Selection and System Update
Rank mirrors and choose one. This article uses Tsinghua’s mirror.
|
|
Add the archlinuxcn and antergos repositories
|
|
|
|
2. AUR Helper
|
|
Then remember to enable it in the software center.
3. Install a Chinese Input Method
Installation and Configuration
|
|
Add the following lines, save the file, and reboot the computer:
|
|
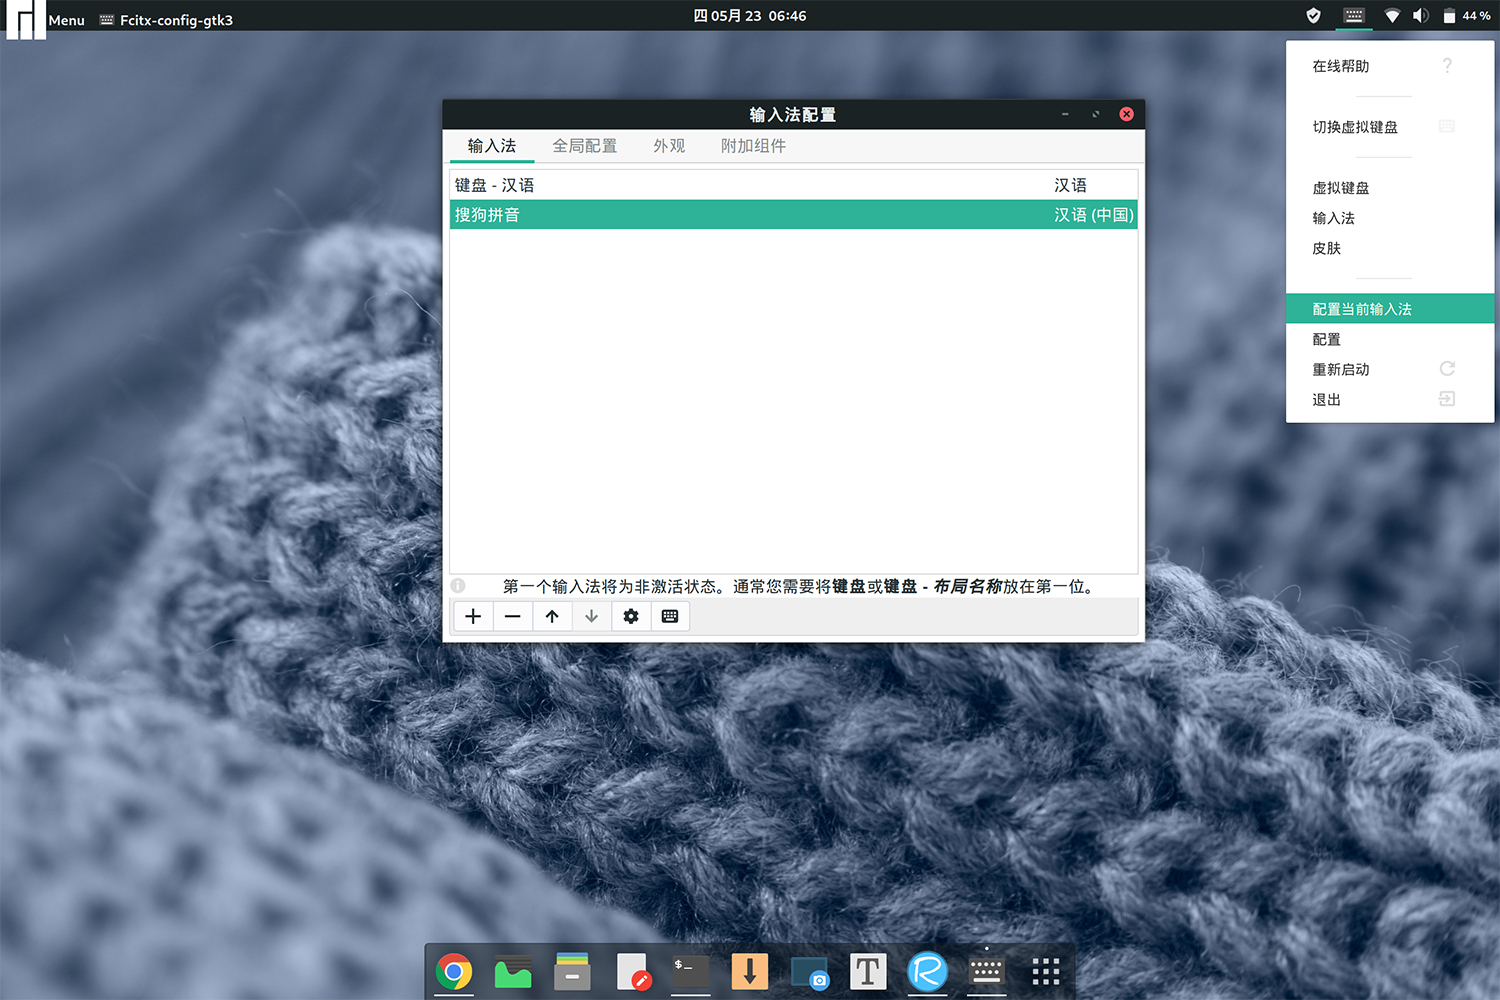
Then add Sogou Pinyin in the input-method configuration and it should work.
Postscript
|
|
On a high-DPI screen like the Surface, you may also want to increase the input-method font size so it is easier to read.

3. Common Software
Manjaro ships with its own app store, so if you do not like using the command line, you can install software directly there.

1. OneDrive
I had been using OneDrive for years, and most of my documents and photos were already there, so once I started using Linux I naturally wanted to at least keep document sync working.
1. Install
Project page: https://github.com/skilion/onedrive
Run the following commands:
|
|
2. Configure
The configuration here mainly decides which folders should be synchronized. Otherwise, OneDrive will try to download everything.
|
|
For the folders you actually want to sync, put them into sync_list:
|
|
For example:

The paths here are relative to the root of your OneDrive account.
Finally, you can either sync manually or enable automatic sync:
|
|
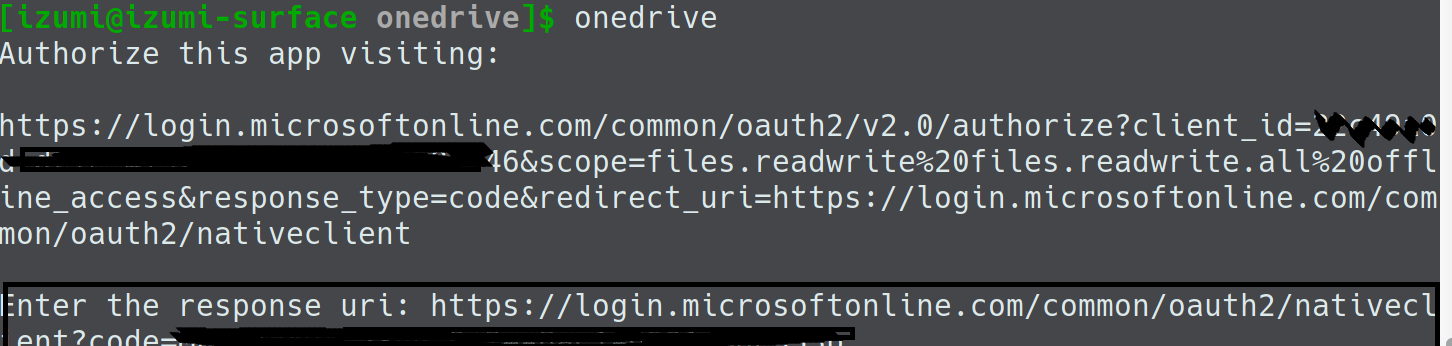
3. Authorize
Run onedrive in the terminal. It will output a URL. Open that link in your browser, sign in, then paste the final URL from the browser address bar back into the terminal. Once that is done, the authorization is complete.
Here is one more reference article: https://www.moerats.com/archives/740/
2. WPS
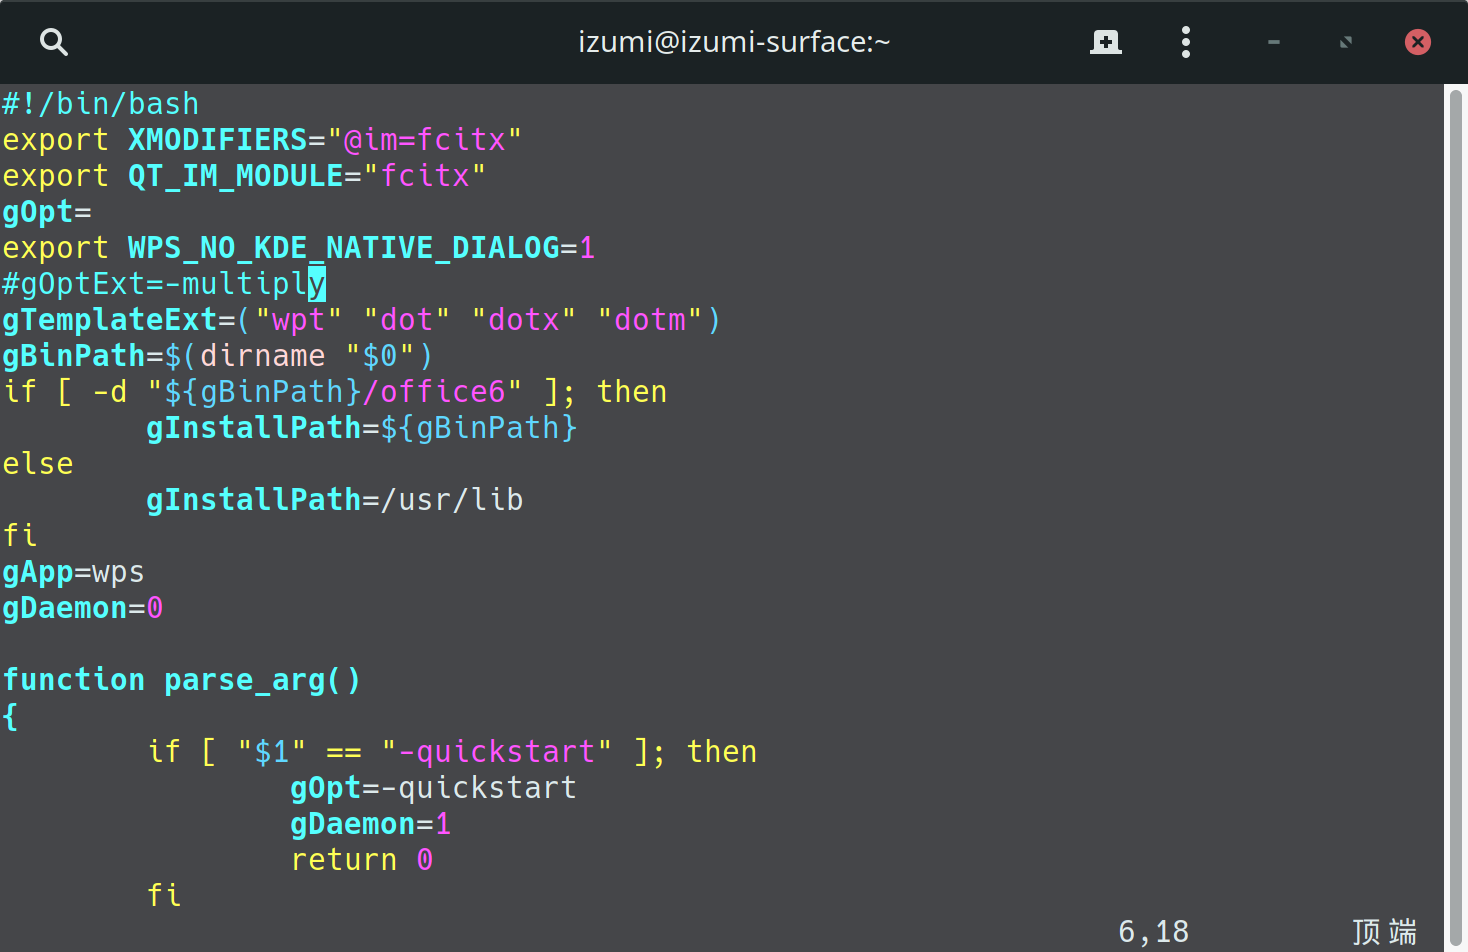
|
|
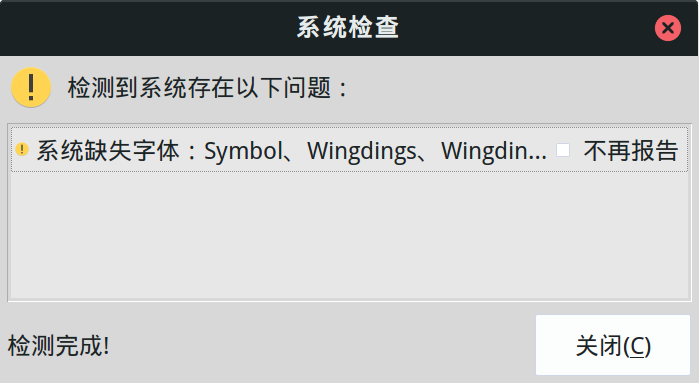
If WPS cannot input Chinese:
|
|